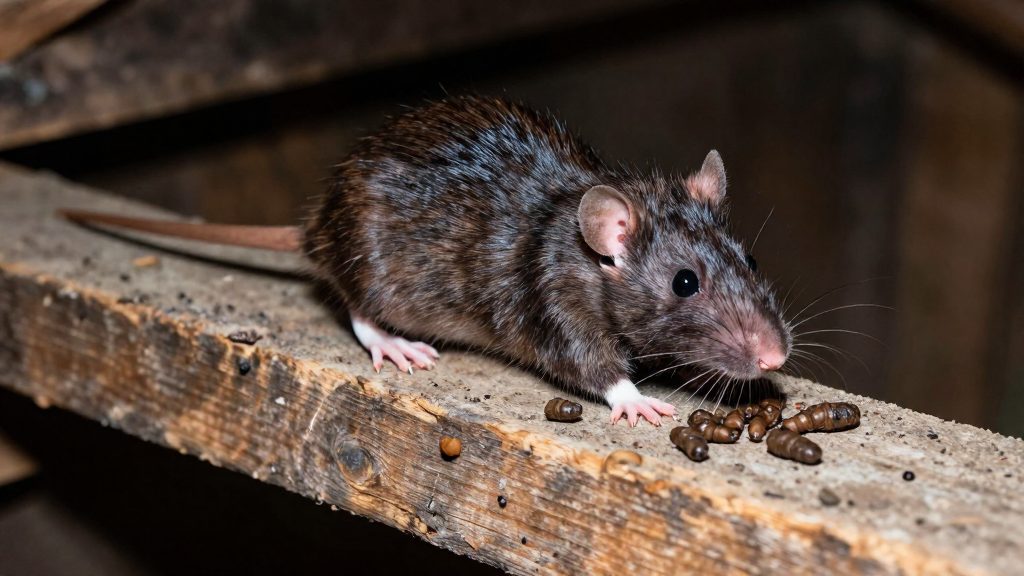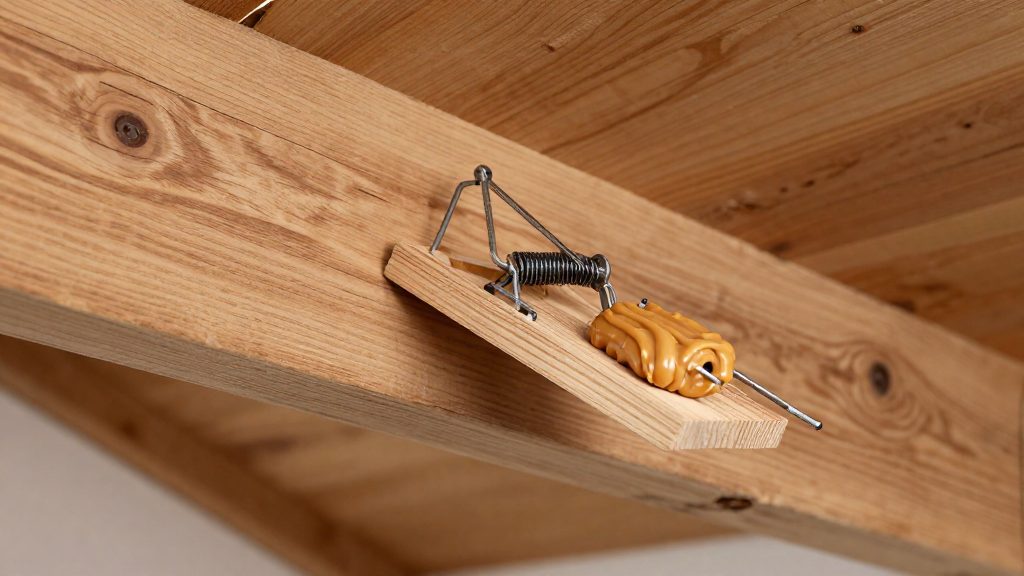
To trap rats in an attic, set snap traps along the walls and beams where rats travel, since they reuse the same routes. Catchmaster (2026) describes snap traps as highly effective and easy to use, and recommends peanut butter or dried fruit as bait. Check traps daily, dispose of captured rats in sealed plastic bags, and reset each trap right away. Seal entry points only after the rats are gone. In Canada, rodenticides are regulated by Health Canada and require a professional pest control license to use (PestHQ, 2026), so trapping is the practical option for homeowners.
Signs that rats are in your attic
Rats leave evidence along the beams, joists and insulation they use repeatedly. Check for droppings, grease stains and gnaw marks, and listen for movement at night. Several signs in the same area show that rats use that route regularly, which tells you where to place traps.
Droppings and grease stains
Droppings and grease stains build up on the same rafters, beams and insulation edges because rats reuse their routes. Grease stains appear as dark, smeared marks where the animals brush against wood. Droppings clustered along one beam point to a route in active use. Record each cluster, since these spots are the first targets for traps.
Gnaw marks on wood and insulation
Gnaw marks appear on wooden beams, joists and board edges, and on insulation near openings or rafter ends. Look for chewed edges and shredded insulation. Repeated marks at the same spot indicate a regular path.
Outside, PestHQ (2026) links chewed holes in soffits and eaves to roof rats, so check the eaves from ground level as well as from inside the attic.
Sounds at night
Scratching, scurrying and gnawing sounds carry through the framing and are most noticeable after dark. A sound that recurs at the same spot over several nights points to a fixed route, which you can match against the droppings and grease stains found in that area.
Which traps work best in an attic?
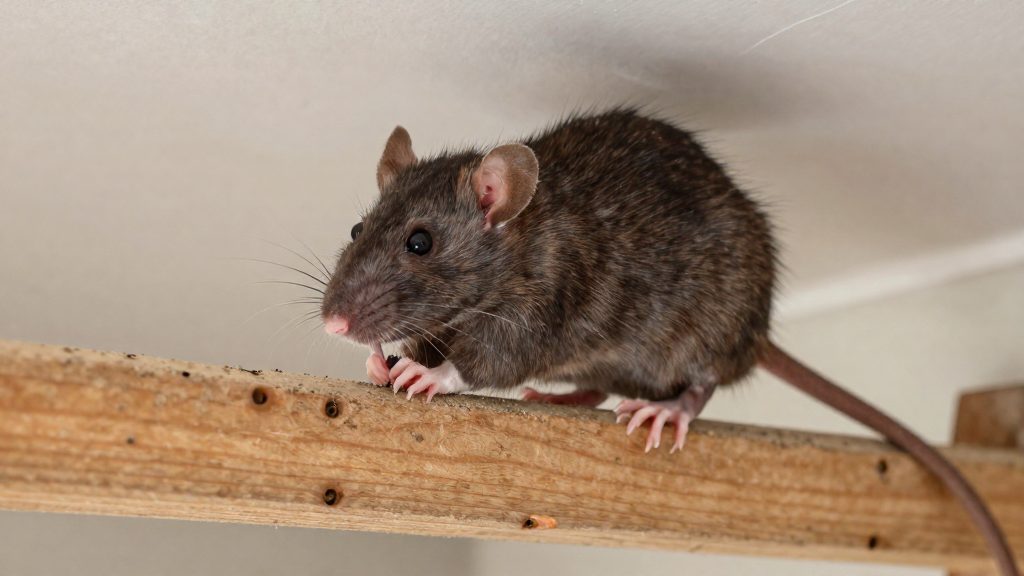
Snap traps are the main method for attic rats. Catchmaster (2026) describes them as highly effective and easy to use, so start with snap traps once rats are confirmed in the attic.
Glue boards are useful for a narrower situation. Catchmaster (2026) states that they work when placed along the rats’ travel routes. Place them only on routes where rat activity has been observed, because a glue board placed at random catches little.
Multiple traps are needed when the infestation is larger. Use several traps rather than a single device when rats are numerous, and add traps as activity appears in new areas.
Catchmaster (2026) names snap traps as the main method and says glue boards work when placed along the rats’ travel routes. It gives no sequence for combining the two.
Where to place rat traps
Placement determines whether traps catch anything. Start by inspecting the attic along walls and beams, since rats reuse the same routes along these structures (Catchmaster, 2026).
Next, target the spots where activity is visible:
- Droppings, which show where rats pass regularly
- Grease stains on beams, joists and framing
- Gnaw marks on wood or insulation, which indicate travel points
Place traps in these areas, then check them daily, as in the routine below. Fresh droppings or new gnaw marks near a trap confirm that the route is still active.
Trap lines in large attics
In large attics, do not rely on a single line of traps. Run trap lines on both sides of the attic, spacing the traps about 6 to 10 feet apart along each line, according to Catchmaster (2026). Spread traps across both lines rather than concentrating them in one area.
Bait and the daily routine
For snap traps, Catchmaster (2026) recommends high-protein baits, specifically peanut butter and dried fruit.
Snap traps work only when they are checked and reset on schedule. Each trap needs the same steps:
| Step | Action |
|---|---|
| Check | Inspect every trap daily |
| Dispose | Place each captured rat in a sealed plastic bag and dispose of it promptly |
| Reset | Reset the trap immediately after a catch |
Carry out this routine on every trap in the line, not only the ones near recent signs. Resetting a trap right after a catch keeps the line active for the remaining rats on that route.
Why seal entry points last
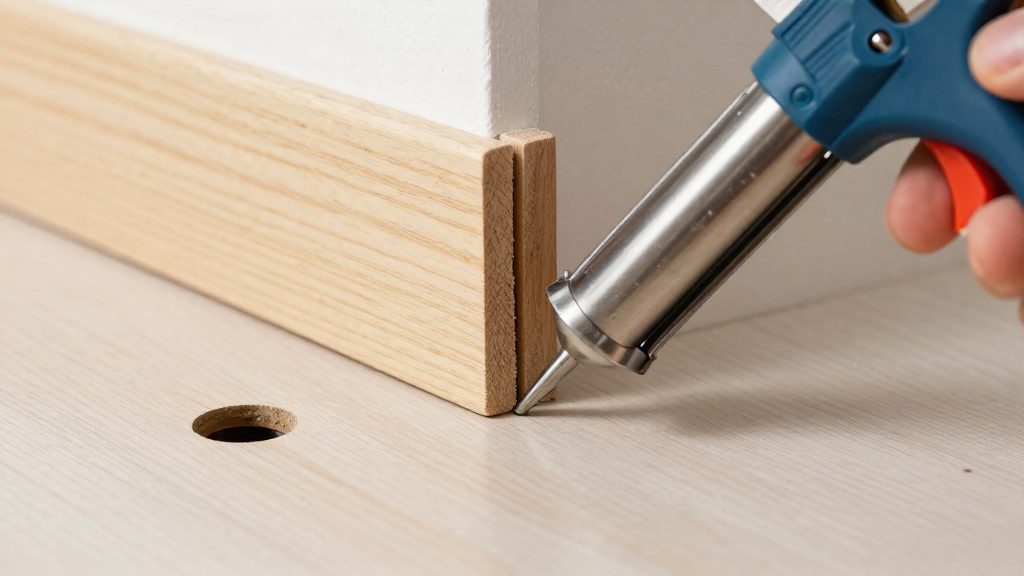
Sealing is the final step in attic rat control. Catchmaster (2026) advises sealing entry points only after all rats are eliminated, so that none are trapped inside. If openings are closed while rats remain, those animals have no exit and may stay out of reach of the traps.
Close each opening with a material rats cannot chew through. Catchmaster lists four options:
- Steel wool, for packing gaps
- Hardware cloth, a wire mesh for covering openings
- Copper mesh, a mesh alternative
- Sheet metal, for solid covering
Walk the attic and inspect every point where pipes, vents or wiring enter, then seal each one with one of these materials.
Rodenticide rules in Canada
In Canada, Health Canada regulates rodenticides, and their use requires a professional pest control license (PestHQ, 2026). According to PestHQ (2026), using rodenticides in Canada requires a professional pest control license. For that reason, trapping is the practical option for homeowners. If poison is considered, hire a licensed pest control operator and ask for the product name before the treatment begins.
Outdoor snap traps
Outdoor rat snap traps should be placed inside plastic bait stations. The enclosure protects pets and wildlife, so an open outdoor trap should not be used. Check outdoor stations regularly, as you would indoor traps.
Preventing rats from returning
Rats cleared from an attic often return through openings outside the building, so the exterior survey matters as much as the trapping. According to PestHQ (2026), roof rats chew holes in soffits and eaves, and Norway rats dig burrows outdoors.
| Rat species | Exterior sign | Where to inspect |
|---|---|---|
| Roof rat | Chewed holes | Soffits and eaves |
| Norway rat | Dug burrows | Ground along the foundation and outbuildings |
Inspecting soffits, eaves and burrows
Walk the full roofline with a light and check every soffit panel and eave edge for chewed holes. Holes are easy to miss where the soffit meets the wall, so inspect those joints closely. Along the foundation and outbuildings, look for burrows and record their locations. Close each opening only after the attic is clear, so that no rat is sealed inside.
Monitoring for re-entry
After the attic is cleared, keep checking it on a set schedule. Start with the walls and beams where droppings, gnaw marks or grease stains appeared before (Catchmaster, 2026). New signs in those areas suggest that rats are active again and that an entry point may still be open, so repeat the exterior survey.
Conclusion
Trapping rats in an attic is a sequence: confirm the signs, place snap traps along walls and beams and in trap lines on both sides of the attic, bait with peanut butter or dried fruit, check and reset daily, and seal entry points only once captures stop. Pair the interior work with an exterior survey of soffits, eaves and burrows, and keep monitoring the same spots for new signs.
Frequently asked questions
How far apart should snap traps be placed in a large attic?
In a large attic, run trap lines along both sides of the space, spaced about 6 to 10 feet (roughly 1.8 to 3 m) apart, according to Catchmaster (2026). Place each trap along walls and beams, where rats travel most often.
Can glue boards replace snap traps in an attic?
No. Catchmaster (2026) names snap traps as the main method and says glue boards work when placed along the rats’ travel routes. The same source does not describe a sequence for using the two together.
Is rat poison legal to use in an attic in Canada?
Health Canada regulates rodenticides, and using them requires a professional pest control license, according to PestHQ (2026). If you want poison used, hire a licensed pest control operator and ask for the product name before treatment starts.