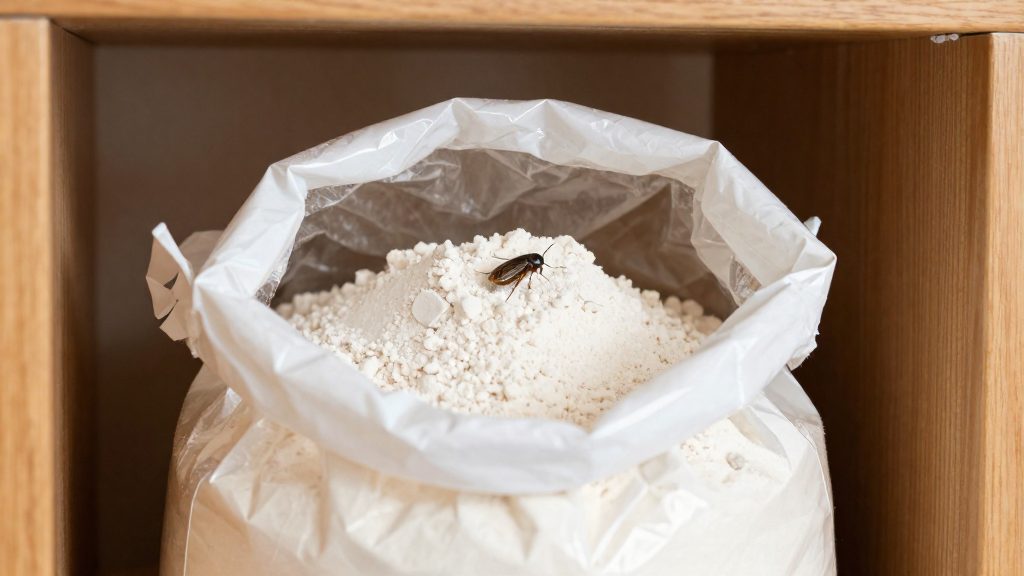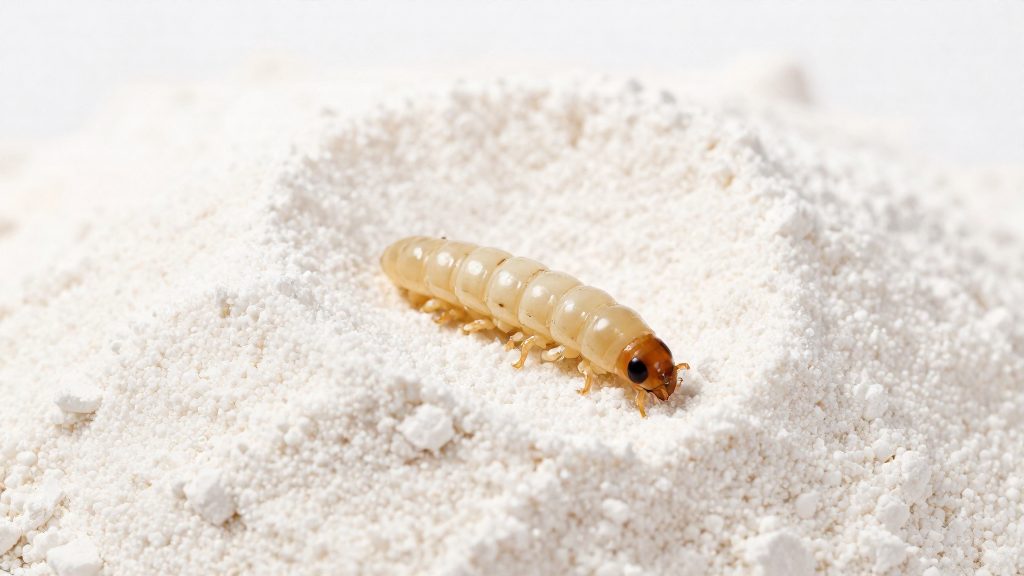
Worms in flour can be pantry moth larvae, but several other pests produce grubs that look similar at a glance. Confirming the identity before you treat matters, because the response differs by pest. Discarding flour that was never infested wastes food, and treating the wrong pest leaves the real source in place. The steps below separate moth larvae from common look-alikes using checks you can run at home.
Are those worms in my flour pantry moth larvae?
Isolate a sample before comparing. Place several specimens in a clear, sealed container with a small amount of the flour they came from, and keep it away from other food. Watch it over the following days. Moth larvae spin silk as they crawl, so webbing appearing in the sample points to pantry moths.
Check whether the problem is growing. A single worm tells you little. Look across the whole bag or box for additional worms, including ones at different stages of development. A widening spread suggests an active infestation rather than a one-off contamination.
Compare against identification images. Use an identification guide from a university or a provincial agricultural service, and compare the specimen with the photographs under magnification. Memory of what a worm “looked like” is unreliable.
Ask a professional when unsure. A licensed pest management professional in your province can identify a specimen from a clear photo or from the sample itself.
Ruling out mealworms, weevil grubs, flour mites and beetle larvae
Mealworms, weevil grubs, flour mites and beetle larvae are the usual look-alikes in dry goods. To separate them from moth larvae, work from the sample rather than the bag. Examine each specimen with a hand lens and check the features documented for pantry moth larvae: silk webbing that binds the food into clumps, a brownish head, and a fully grown length of about 1/2 inch (about 1.3 cm) according to University of Maine Cooperative Extension (2021), or 1–2 cm according to Rentokil Terminix Canada (2023). A specimen that lacks these features, in a bag with no webbing, is probably not a pantry moth larva. Compare it with reference images of each look-alike. Size and head colour alone cannot confirm a pantry moth larva, so rely mainly on the silk webbing, and ask a professional if the specimen is still uncertain. If the specimens are not uniform in appearance, you may be looking at more than one pest, and each needs its own treatment.

How to recognize pantry moth larvae and webbing
Pantry moth infestations are usually found through their larvae and the silk webbing they leave in food, not through the adult moths. Fully grown larvae are visible to the naked eye, but newly hatched larvae are very small and hard to see, so the webbing is often the first sign to check.
Larva size and colour
Sources differ slightly on the size and colour of fully grown larvae:
| Feature | University of Maine Cooperative Extension (2021) | Rentokil Terminix Canada (2023) |
|---|---|---|
| Length, fully grown | About 1/2 inch (about 1.3 cm) | 1–2 cm |
| Colour | Yellow, green or pink | Whitish |
According to the University of Maine Cooperative Extension (2021), the larvae have a brownish head. Check dry goods such as flour, cornmeal, whole wheat, nuts and dried fruit for larvae, and look closely at the head colour when you find one.
Silk webbing in food
As larvae crawl, they spin silk, so infested food looks webbed together and clumps into lumps (University of Maine Cooperative Extension, 2021). Rentokil Terminix Canada (2023) notes that this webbing is often mistaken for spider silk and is one of the earliest signs of an infestation. Because the silk spreads through the food, it contaminates more food than the larvae actually eat (University of Florida, Entomology & Nematology Dept.).
Adult moths and frass
Adult moths seen in the kitchen are a secondary sign. They do not show the infestation inside the food, so check the contents of containers as well. Frass, the small droppings left by larvae, is another secondary sign. Look for it in the webbing and at the bottom of containers, and use a light to see it clearly in dark pantry corners.
Which foods do pantry moths infest?
Pantry moth larvae feed on a wide range of dry stored goods. Whole wheat and cornmeal are established hosts, so flour stored in a cupboard can become an infestation site.
Beyond flour, the recognised hosts include birdseed, nuts and dried fruit. These foods are often stored in sealed packets or small containers, which can make a developing infestation harder to spot until larvae have spread.
Pet food and other dry animal feed are also hosts. A kibble bag can therefore support the same moth lifecycle as a flour tin, and because pet food is usually kept separately from human food, it is easy to overlook as a source.
Two characteristics explain why these hosts can sustain an infestation over time:
- Lifecycle length: the Indianmeal moth, a common pantry moth species, can complete its lifecycle in about 60 days, with usually four to six generations per year. A single infested product can therefore produce several rounds of larvae in one year.
- Hidden pupation: pupation takes place away from the food itself, so the original source of the infestation is often hard to find.
A single infested package can therefore affect several neighbouring items in the same storage space.
What should I do with infested flour?
Discard infested flour rather than sifting or salvaging it. Any bag with webbing, clumps, or visible larvae should leave the kitchen whole.
Disposing of infested food
- Close the infested package inside a second bag before carrying it out, so larvae and webbing do not fall onto shelves or floors.
- Place it in an outdoor bin with a tight-fitting lid, and keep the bin away from the house entrance.
- Do not empty infested food into a compost pile or an indoor bin, as this can carry larvae back inside.
Inspecting everything you keep
Check every item you plan to reuse before it goes back on the shelf.
- Look for webbing first, in clumps of flour, in seams and along package edges.
- Look beyond the food. Inspect unopened packages too, and keep them separate until they have been checked.
How to clean the pantry and get rid of pantry moths
Cleaning targets the places where the next generation develops. A cleaning pass should cover the whole pantry rather than only visible food.
Vacuum shelf corners, cracks and seams
- Remove all dry goods from the shelves and check each container before deciding what to keep.
- Vacuum the shelf corners, cracks and seams thoroughly, including the joints where shelves meet the walls.
- Work along the back edge and underside of each shelf, then vacuum the floor edges and baseboards.
- Wipe the cleaned surfaces so that no food residue or webbing remains.
Check hard-to-find sites
Check these areas on every cleaning pass:
- Gaps between shelving units and the wall
- Corners and cracks inside cabinet frames
- Seams of shelf liners and drawer runners
- Floor edges and baseboards near stored food
Do traps and insecticides work against pantry moths?
Traps and insecticides target different parts of the problem, and neither works alone. The key constraint is location. Pantry moth larvae are the stage that eats the food, and they feed inside dry goods, where a trap cannot reach them. An infestation can remain in a sealed package even after adult moths have been caught.
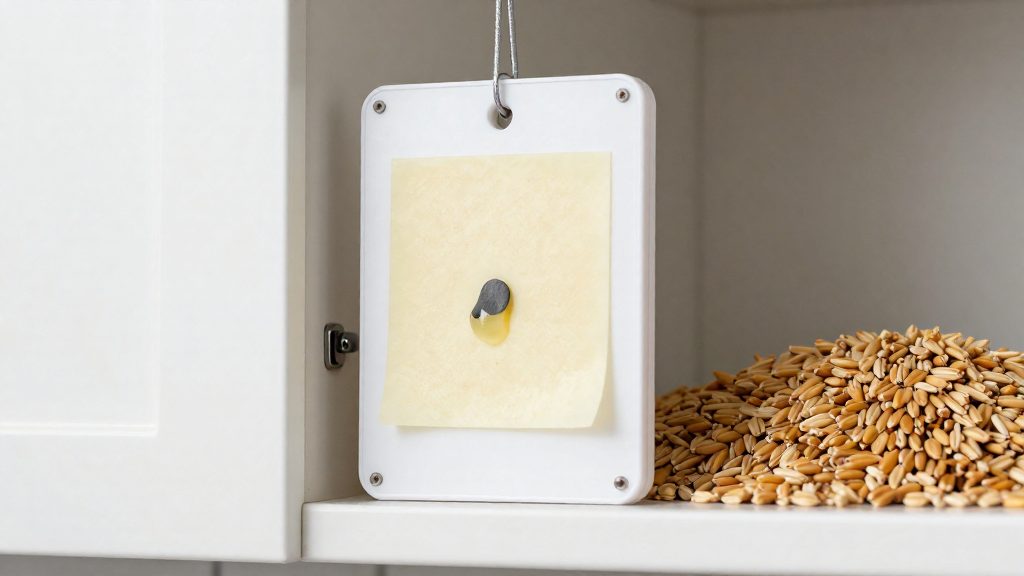
Pheromone traps attract adult moths. They can show whether adults are present, but they do not remove larvae already developing inside flour, cereal or pet food. A trap in the kitchen does not stop feeding in a bag that is already infested.
Insecticides are the last step used to break the life cycle. Use a product labelled for indoor use, follow its directions exactly, and keep food sealed during treatment. The recommended sequence is to discard infested items, inspect everything you plan to keep, vacuum, and then apply a pesticide while food stays sealed. A product applied before infested food is removed leaves larvae and webbing in place, so the treatment depends on the removal steps that come before it.
An infestation can renew itself from stages that were never treated.
How to prevent pantry moths in flour
Prevention depends on what enters the kitchen and how it is stored. Pantry moth larvae are the stage that feeds on food, so an infestation usually starts with an infested package, not with an empty cupboard. Checking dry goods at the store and sealing them at home are the two steps that control this risk.
Inspecting dry goods before buying
Check every bag or box before it goes into your basket, and reject any item with a damaged package. Torn or punctured packaging gives larvae a way in, so avoid those items entirely.
Storing flour in airtight containers
Once a bag is opened, transfer the flour into an airtight container instead of leaving it in its original packaging. Rentokil Terminix Canada (2023) recommends this practice for all dry goods. Keeping stock sealed also limits the chance that an adult moth finds an entry point into the flour.
Clean the pantry regularly, since food residue and webbing in corners and cracks can shelter the next generation.
Frequently asked questions
Can I still use flour that has a few worms and some webbing?
Flour with silk webbing or clumps has been colonised, and the webbing contaminates more food than the larvae eat, so discard the infested flour in an outdoor bin. Inspect the rest of the bag and any other dry goods stored nearby before deciding what to keep.
How can I tell pantry moth larvae from mealworms or weevil grubs at home?
Size and head colour cannot separate them reliably, so check for silk webbing first. Keep a few specimens sealed with some of their flour for several days, since larvae that spin webbing in the container point to pantry moths. Newly hatched larvae are very small, so an early infestation may show no webbing yet and needs re-checking over several days.
Do I have to treat the whole pantry, or just the flour?
Treat the whole area where infested food was stored, because pupation happens away from the food and the source can be hard to find. Vacuum corners and cracks and discard the vacuum bag outdoors before any product is applied, and keep remaining food sealed during treatment.