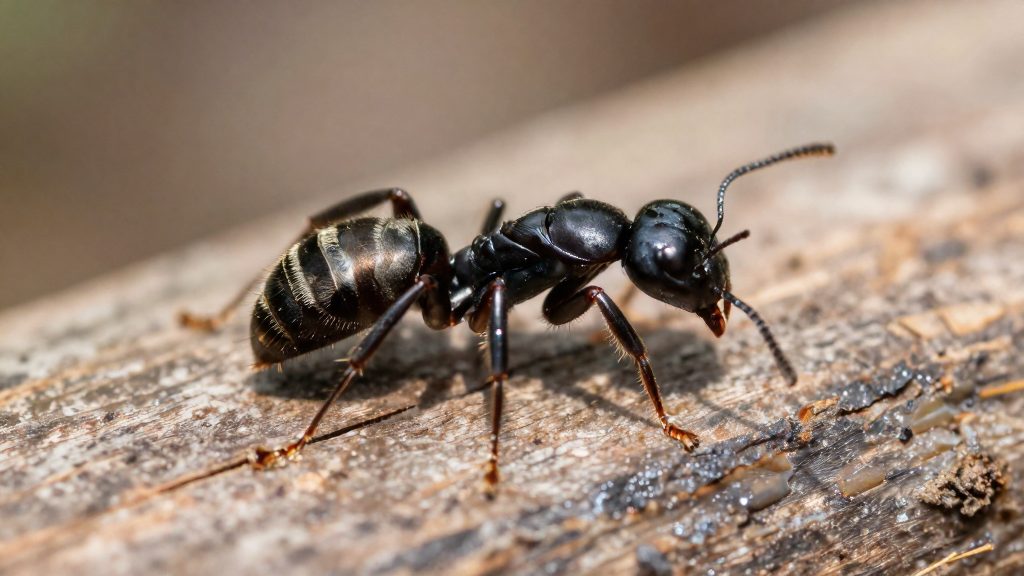
Carpenter ants are best identified by two things: body length and how they use wood. According to Bob Vila (2024-05-31), some workers are over 1/2 inch long and queens are close to 3/4 inch. Length alone can be misleading, so a suspect insect should also be checked for how it interacts with timber.
What Do Carpenter Ants Look Like?
Body length gives a size range rather than a single value, so read the measurements as thresholds.
| Caste | Length (Bob Vila, 2024-05-31) |
|---|---|
| Worker (larger individuals) | Over 1/2 inch |
| Queen | Close to 3/4 inch |
Tunnelling without eating wood
The most reliable behavioural difference is what the insect does inside wood. Carpenter ants tunnel through wood to build their nest, but they do not eat it, unlike termites. When checking timber, look for smooth excavated passages rather than wood that has been consumed as food. If an ant is found in a wall void, under a floor or in a cabinet and the wood shows only excavation, the insect is more likely a carpenter ant. Confirm by combining this observation with size, because some insects share similar colours and body shapes.
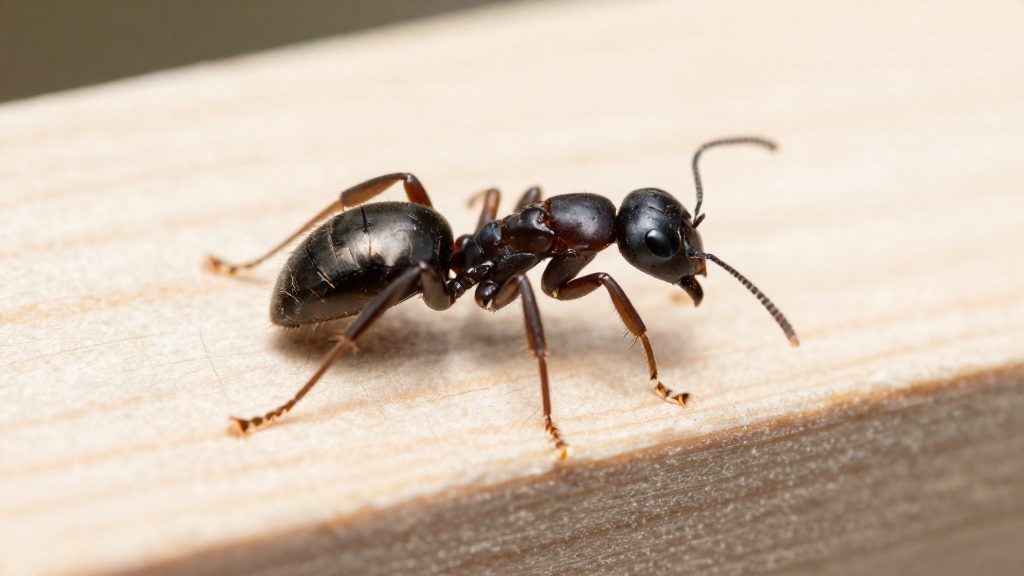
Signs of a Carpenter Ant Infestation
Carpenter ants leave few obvious traces because most of the colony stays hidden. The clearest indoor sign is frass, the debris the ants push out of their tunnels.
Frass: the main indoor clue
Frass looks like irregular sawdust made of loose wood particles. Frass may also contain dead ants, and Bob Vila (2024-05-31) identifies it as a signal of infestation.
To check for it:
- Look on the floor, sills and shelves below wood that shows small holes or cracks.
- Sweep up any pile and inspect it for wood fragments and dead ants.
- Check the same spot again after clearing it. Fresh debris points to ongoing activity.
Combine any large ant found near frass with the size and wood-tunnelling checks above before concluding it is a carpenter ant.
Moisture sources that attract carpenter ants
Carpenter ants are drawn to places where wood stays damp. The main conditions to look for are:
- Damp wood, especially wood that stays wet over time
- Leaks from plumbing, roofs, windows or appliances
- Poorly ventilated spaces, such as crawl spaces, basements and cabinets with little airflow
Inspect these areas first, particularly around sinks, under windows and in enclosed corners. Frass found near these conditions is a stronger indication of a colony than frass in a dry, well-ventilated room.
How Do You Find the Nest?
Carpenter ant nests are usually out of sight, so locating them is the first step in any control effort. According to Orkin (2026), nests can be inside walls, under floors or behind cabinets, while some colonies live outdoors and only come indoors to feed on food debris. According to Bob Vila (2024-05-31), a mature colony can hold 3,000 or more ants, and most stay hidden in the nest, so the few workers visible at any moment rarely show the full size of an infestation.
Where to Look
Inspect the spaces where nests are typically found and the conditions that attract them:
| Location or condition | What to check |
|---|---|
| Inside walls | Wall voids, especially where moisture is present |
| Under floors | Floor spaces above damp ground or near leaks |
| Behind cabinets | Cabinet backs and the wood behind them |
| Damp wood or leaks | Any wood that stays wet or shows water damage |
| Poorly ventilated spaces | Enclosed voids with little airflow |
Following Foraging Ants
Bob Vila (2024-05-31) describes following foraging ants as the way to trace a colony back to its nest. Foragers travel between food sources and the nest, so their route points toward it.
- Locate active workers at a food source, such as crumbs, pet food or unsealed pantry items.
- Track the route they take across floors and along walls, noting every point where they disappear.
- Check the voids at those points: wall spaces, the area under the floor and the space behind the nearest cabinet.
- If the trail leads outdoors, the colony may be living outside and entering the home only to feed.
Baits and Dusts: The DIY Application Order
Three DIY products appear in carpenter ant control: bait traps, boric acid and diatomaceous earth. They are applied in a fixed order rather than interchangeably, and each has its own timing rule. The order below follows the DIY method described by Bob Vila (2024-05-31).
Clear Food Sources First
Remove crumbs, pet food and unsealed pantry items before placing any bait or dust. This step applies to every product in the sequence, so it should be finished before the first trap is set.
Application Order and Timing
| Product | Position in sequence | Timing rule |
|---|---|---|
| Bait traps | Second step, after food sources are removed | Set before nest treatment begins |
| Boric acid | Third step, applied at the nest once foraging ants have been followed to it | Reapply every few days until the ants are gone |
| Diatomaceous earth (dry, food-grade) | Fourth step, after boric acid | Works only when completely dry |
Boric Acid
Boric acid is the only product in this method with a repeat schedule. Place boric acid and borax baits where children and pets cannot reach them. Treatment continues until the ants are gone, not for a set number of days, so monitoring the area between applications shows when to stop.
Diatomaceous Earth
Use only dry, food-grade diatomaceous earth. Because it is effective only when completely dry, apply it in spots that will stay dry, and do not reapply it over damp material.
Do Home Remedies Like Borax Work?
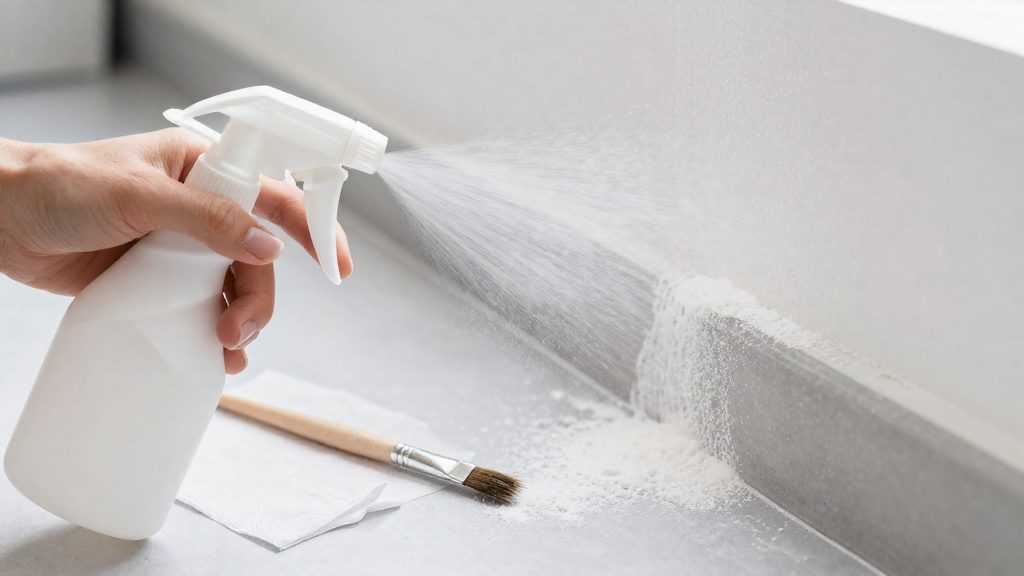
A borax and sugar mixture can serve as a perimeter measure against carpenter ants, but it does not reach the colony. Bob Vila (2024-05-31) recommends mixing equal parts borax and sugar and applying the mixture around the perimeter of the home. It is one step in a DIY sequence, and it works only on ants that come to the bait.
Limits of the Perimeter Mixture
- Colony size: A perimeter mixture only affects ants that reach it, and the sources do not show that it eliminates a hidden colony.
- Moisture: The borax and sugar mixture does not remove damp wood or leaks, and Bob Vila’s sequence addresses moisture as a separate step.
Checking Whether the Mixture Is Working
If frass keeps appearing near the same spots after the mixture is in place, the nest is likely nearby and out of reach of the perimeter treatment.
Fix Moisture and Entry Points
Bob Vila (2024-05-31) lists fixing moisture problems as a step in its DIY sequence. The steps below remove the conditions that draw colonies back.
Repair Leaks and Dry Damp Wood
Start by finding and stopping the water source, such as a leaking pipe, a failed seal around a window or door frame, or a damaged gutter. Fixing the leak removes the reason the ants returned, so complete it as part of the full sequence rather than relying on baits or dusts alone.
Once the leak is fixed, let the affected wood dry completely. Check hidden voids as well, since moisture can persist there after a visible leak is repaired.
Improve Ventilation
Bob Vila (2024-05-31) identifies poorly ventilated spaces as an attractant. Focus on areas where humidity builds up, such as crawl spaces, under-floor voids, cabinets beneath sinks, and bathrooms. Improving airflow through vents, exhaust fans or dehumidification reduces the damp conditions that wood needs to stay soft and attractive to nesting colonies.
Treat the Exterior and Seal Entry Points
Bob Vila (2024-05-31) recommends treating the exterior after interior steps, and suggests an equal-parts borax and sugar mixture for the perimeter.
Next, seal the gaps through which ants enter the structure. Common routes include gaps around pipes, cables and vents, cracks in the foundation, and openings around door and window frames. Fill these with a sealant, and repair any damaged siding or trim so that no moisture-holding gaps remain.
When Should You Call a Professional?
Orkin states that DIY control often fails against carpenter ants, and that managing them is almost always a job for a pest management professional, especially when the nest is hidden or hard to reach (Orkin, 2026). Calling one is the logical next step once home treatment stops producing results, and the signs below show when that point has been reached.
Signs That Home Treatment Has Reached Its Limit
- The nest cannot be reached: you can follow foraging ants but cannot locate the nest, or it sits in an area you cannot inspect or access safely.
- The colony is outdoors: treating only the indoor ants leaves the source of the infestation in place.
- Frass keeps appearing: its continued appearance after treatment has started indicates that the colony is still active.
- Ants return after repeated treatment: if workers reappear after several rounds of treatment, the nest has most likely not been reached.
A professional inspection targets the nest rather than the foragers, which is the step DIY methods most often miss. The decision does not depend on how many ants you have killed. It depends on whether you have located and reached the colony.
Frequently asked questions
Can I get rid of carpenter ants myself?
Orkin says DIY control often fails, and carpenter ant management is almost always a job for a pest management professional, especially when the nest is hidden or hard to reach. Start by locating the nest, since it may be inside walls, under floors or behind cabinets.
In what order should I run a DIY treatment?
Bob Vila (2024-05-31) recommends removing food sources such as crumbs, pet food and unsealed pantry items, then setting bait traps. Follow the foraging ants back to the nest and treat it with boric acid, then apply dry food-grade diatomaceous earth and address the exterior and any moisture problems.
How often should I reapply boric acid, and when does diatomaceous earth work?
Bob Vila (2024-05-31) advises reapplying boric acid every few days until the ants are gone. Diatomaceous earth only works when it is completely dry, so reapply it after any moisture.