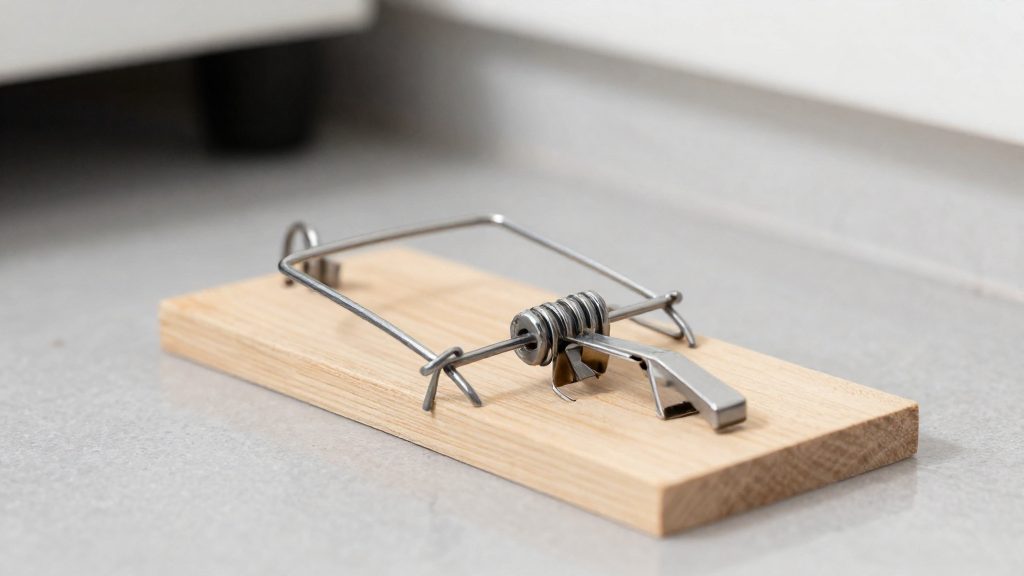
Humane live-catch traps can remove mice from an apartment, but they rarely end an infestation on their own. The main reason is that mice in apartments often move through shared plumbing chases and wall cavities, so a single unit is seldom isolated from the rest of the building.
Are humane mouse traps effective in apartments?
Shared building routes limit results
Trapping reduces the mice already inside, but it does not block the routes they use. For this reason, a trap line set only in your own unit may catch animals without reducing the wider problem.
Captures do not confirm the infestation has ended
Catching a mouse shows that one animal was present, not that the population is gone. Once you have caught several mice, the number of captures alone cannot tell you whether any remain. Trapping should therefore be judged by what happens over time, not by a single successful catch.
Signs of ongoing activity after several captures
Note each capture. If new captures continue at the same wall and baseboard positions after the earlier animals were removed, activity is still ongoing. If the traps stay empty over a sustained period and no fresh droppings, gnaw marks or rub marks appear, activity has probably dropped. Empty traps alone are not proof, because stale bait or poor placement can also cause them. Compare results against the same placement points, since changes in location can make the outcome look better or worse than it is.
How live-catch mouse traps work
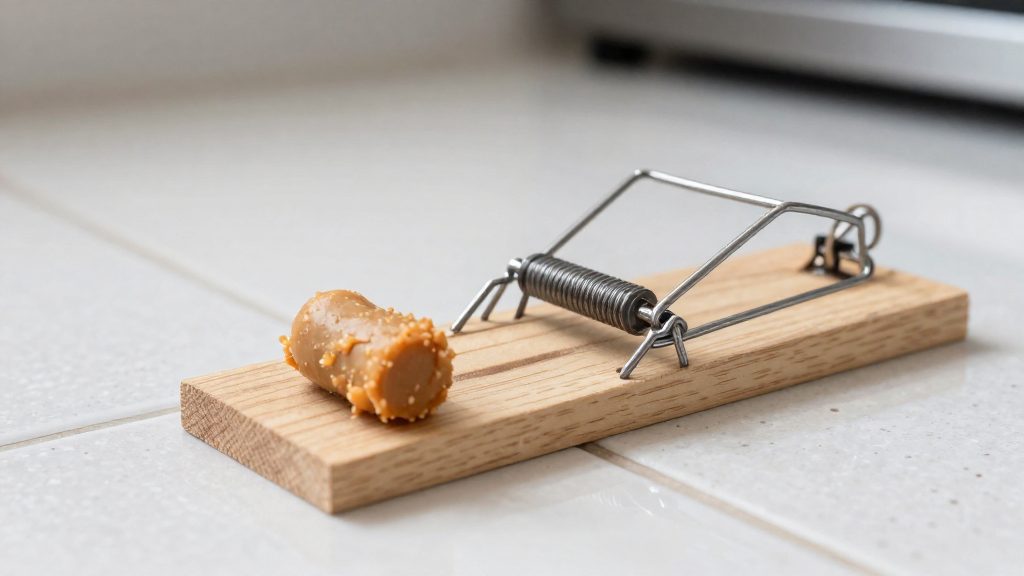
A live-catch trap relies on a one-way door that drops or slides shut once the mouse has walked inside, so the animal stays alive in the enclosure. The door is released by a trigger plate (also called a treadle). When the mouse steps onto the plate, it releases the door mechanism, and because the door only moves in one direction, the mouse cannot push back out.
The enclosure must let air pass through. Well-made traps have ventilation holes in the walls or lid so a captured mouse can breathe while it waits to be checked. Do not seal a trap airtight, and avoid placing it where it will sit in direct heat or inside a closed cupboard.
Trap size affects how reliably a mouse enters and stays put:
- Entrance: The opening should let a house mouse walk in without hesitation. An opening that is too tight may deter the animal from entering the trap.
- Chamber: The inner space should be roomy enough for the mouse to turn around and move. A cramped chamber increases stress during the wait.
- Door: It should close fully on the mouse’s exit path, with no gap for it to slip through.
Before setting a trap, check these points:
- The trigger plate moves freely and resets after each capture.
- The door slides or drops without sticking on its frame.
- The ventilation holes are not blocked by bait residue, dust or nesting material.
Best types of humane traps for small spaces
Compact live-catch traps suit apartments because most mouse activity follows narrow routes: kitchen floors, the space under the sink, and the junction between wall and floor. Three formats cover these spots, and each fits a different gap.
Havahart compact live traps for under-sink spaces
A compact live-catch trap has a footprint small enough for the cramped area beneath a sink. Under-sink cabinets are a sensible target because pipe runs are likely routes. Set the trap against the back wall of the cabinet or alongside the pipe, where the animal already moves.
Tomcat humane mouse traps for tight kitchen gaps
A slim live-catch trap is a common choice for narrow openings between cabinets, appliances and the floor. Keep the entrance facing the direction of travel so the trap sits in the path rather than beside it.
Small multi-catch tunnels for corners and baseboard runs
A multi-catch tunnel is an enclosed, tube-shaped format designed for corners and baseboard runs, the straight lines of wall where mice travel repeatedly. Place it at a corner junction or along the baseboard between two points of known activity. Because the entry sits at floor level, it works best where droppings or gnaw marks show a regular path.
What bait works best?
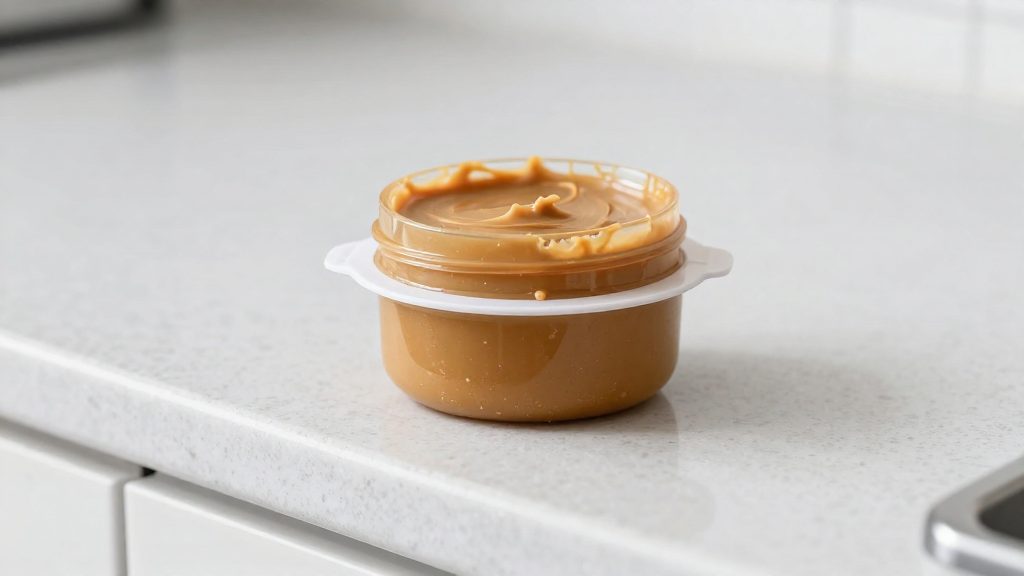
Journeyman HQ (2026) recommends three strong-smelling foods for live-catch mouse traps in apartments: peanut butter, hazelnut spread and bacon grease. The guide describes these as examples of the kind of food to use, so any of the three can serve as the lure. Use only a small amount, whichever you choose.
Applying the bait
The bait belongs on the trigger plate, not spread across the trap floor. Press a small amount directly onto the plate so the mouse has to reach and touch the bait to set off the trap. Using a larger quantity does not add to the lure, and the guide’s advice to keep the amount small applies to every bait on the list.
Before setting each trap, confirm that the bait is firmly on the plate. A bait that sits loosely beside the plate gives the mouse a way to feed without triggering the mechanism.
Replacing the bait
Check the bait each time you inspect the traps. Replace it in two cases: when it has dried out, or when it has been eaten. A dried or depleted lure no longer carries the strong scent the method depends on, so a trap left with old bait is unlikely to catch anything. Fresh bait should be applied to a clean trigger plate each time, using the same small amount described above.
Where should you place traps?
Mice in apartments travel along wall edges rather than across open floor, so the baseboard is the primary placement zone. The Journeyman HQ guide (2026) recommends setting live-catch traps directly against walls and baseboards where mice are active. Set each trap flush against the wall so a mouse running along the edge must cross its trigger area.
Before placing traps, confirm the route by looking for three activity signs:
| Sign | Where it appears | Trap position |
|---|---|---|
| Droppings | Along baseboards and near food storage | Against the baseboard, beside the droppings cluster |
| Gnaw marks | Packaging, skirting boards, wooden edges | On the gnawed edge, facing the mark |
| Greasy rub marks | Walls, beams, pipes | Directly on the rub line |
Rub marks are a useful guide. Mice brush the same surface repeatedly, leaving a dark line that shows the path they follow, so a trap placed on that line is more likely to be crossed.
Pipe runs and the walls around them are worth checking for droppings and rub marks, even when they are not in the room where you first saw activity.
Spacing in rooms with several activity signs
When a room shows more than one sign, place traps along each confirmed route instead of concentrating them in one spot. Put one trap at each end of a run of droppings or rub marks, and add a trap wherever gnaw marks cluster.
How often should you check traps?
According to Journeyman HQ (2026), live-catch mouse traps should be checked at least once a day. A fixed daily time, such as before leaving home or on waking, makes this routine easy to keep. Inspect every trap on each round, including ones that appear untouched, because a trap can be triggered without visibly catching a mouse.
Resetting after each capture takes a few steps:
- Handle the trap with gloves or a cloth, and avoid direct contact with the captured mouse.
- Clean the trap surface and remove droppings or debris.
- Replace the used bait with fresh bait.
- Re-set the trigger before returning the trap to its position.
A trap that fails to reset properly will not catch the next mouse, so confirm the mechanism works before moving on.
Logging capture dates shows patterns that a single check cannot. Record the date, the time of inspection, the trap location, and whether the trap was triggered. After several days, the log shows which locations are active and which are not. Traps in locations with no activity can then be moved to spots nearer the places where mice are caught.
Where and how to release a mouse safely
Once a mouse is inside a live-catch trap, release distance matters, because a mouse freed close to the building can return. According to Journeyman HQ (2026), captured mice should be released at least one mile (about 1.6 km) from the building, and some experts recommend up to three miles (about 4.8 km). A mouse released near the apartment block stays within reach of the same building, which undermines the trapping effort.
Choosing the release site
The release site should be open ground or woodland, not areas next to other buildings. Choose a location you can reach by car or on foot without carrying the trap a long distance, and make sure you can get back to the building safely.
Handling steps
- Keep the trap closed and covered during transport so the mouse does not escape in the vehicle or on the walk.
- Drive or walk to a site at least one mile from the building. If the trip allows, go further, up to three miles.
- Set the trap down on the ground at the chosen site, away from roads and structures.
- Open the door, then step back so the mouse can leave on its own.
- Wash your hands with soap and water after handling the trap.
Handling the trap in this order keeps the release point separate from the building, which is the main purpose of the distance guidance above.
Seal entry points and clean up to stop mice returning
Trapping removes the mice already inside, but it does not prevent new ones from arriving. According to Journeyman HQ (2026), trapping works best combined with sealing entry points. Sealing those entry points reduces the chance of the apartment being recolonized from the building.
Seal gaps where pipes enter shared plumbing chases
Inspect every pipe that passes through a kitchen or bathroom wall, paying particular attention to the areas under sinks and behind appliances. A plumbing chase is a vertical shaft shared by several units, so an unsealed gap around a pipe in your apartment can connect directly to a neighbor’s space. Because shared chases and walls are usually the landlord’s or building management’s responsibility, report the problem in writing and check your lease before sealing common areas. Close each pipe penetration, including openings you can only feel with a finger rather than see.
Close wall cavity gaps with durable filler
Wall cavities give mice hidden routes between rooms and floors. Use a durable filler rather than a temporary material. Metal mesh pushed into the opening and finished with a cement-based filler or a silicone sealant is a common approach. Check gaps around cables, vents and skirting boards as well, since these are frequent openings in apartment walls.
| Location | Action |
|---|---|
| Pipe entry in a plumbing chase | Fill the gap around the pipe with durable filler |
| Wall cavity openings | Pack with metal mesh, then seal with cement-based filler or silicone |
| Gaps at baseboards | Seal with filler and check for daylight or movement |
Remove food residue, grease and droppings from kitchens
Food residue is the main reason mice stay in a kitchen once they arrive. Wipe grease from stove tops, counters and the space behind appliances, clear crumbs from under toasters and bread bins, and store dry food in sealed containers.
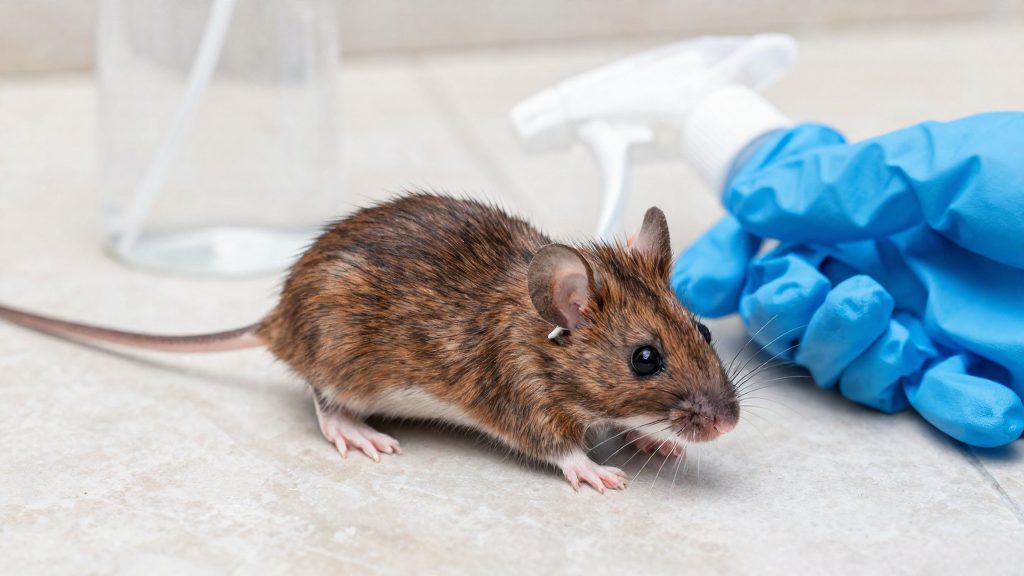
When removing droppings, wear gloves and spray them with disinfectant before wiping. Dry sweeping spreads particles into the air, so avoid it.
Frequently asked questions
What should I put in a humane mouse trap as bait?
Use a small amount of strong-smelling food such as peanut butter, hazelnut spread or bacon grease. Strong odours draw mice toward the trigger plate, and a small amount keeps the bait from spilling or being eaten without setting off the door.
How far should I take a mouse before releasing it?
Release captured mice at least 1 mile (about 1.6 km) away, according to Journeyman HQ (2026). Some experts recommend up to 3 miles, which lowers the chance that the animal returns to your unit.
How often should I check the traps, and is that enough on its own?
Check the traps at least once a day so captured mice are not left in the enclosure. Daily checks alone do not stop new arrivals, so pair them with sealing entry points, as Journeyman HQ (2026) advises.