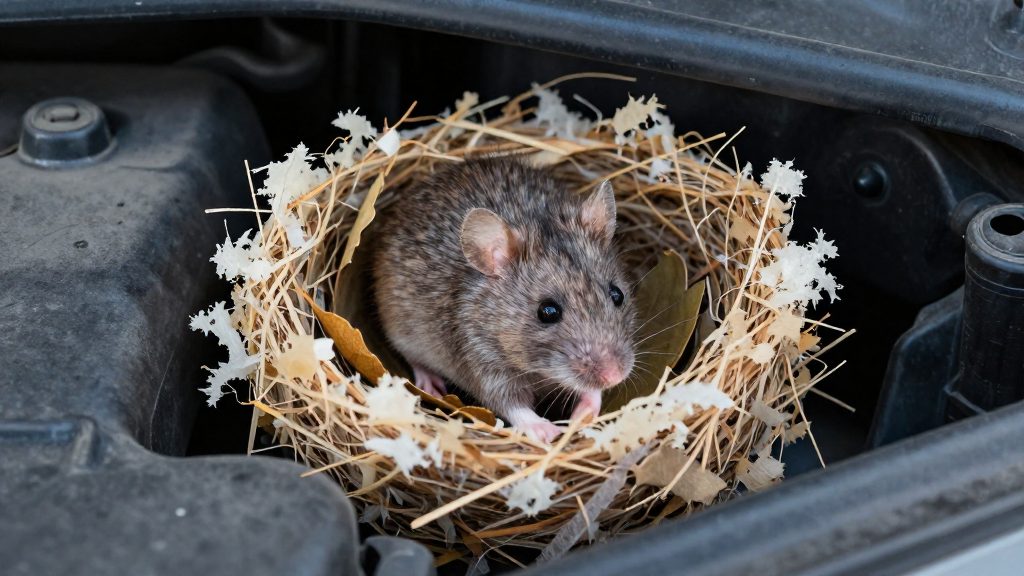
Signs of a mouse nest in your car engine
Physical evidence of a mouse nest under the hood usually appears as droppings, urine traces and shredded nesting material, while gnawed wiring is the sign that points to a repair. Note each type of evidence before you clean or repair anything, because the cleanup method depends on what you find.
Droppings, urine and nesting material
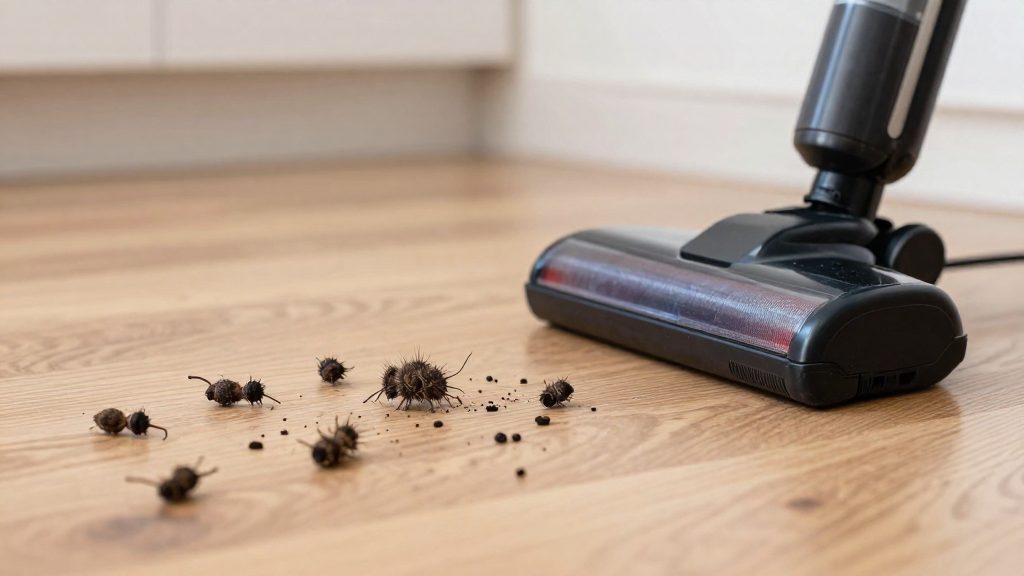
Droppings look like small, dark pellets, often grouped together rather than scattered singly. Urine shows as stains or crusty residue on metal, plastic or insulation, and fresh urine looks wet. Nesting material is a loose pile of shredded paper, fabric or plant fibers, usually in a sheltered gap between components. Check each type of evidence, since repeated deposits in the same spot suggest an active nesting area.
Chewed wiring and damaged insulation
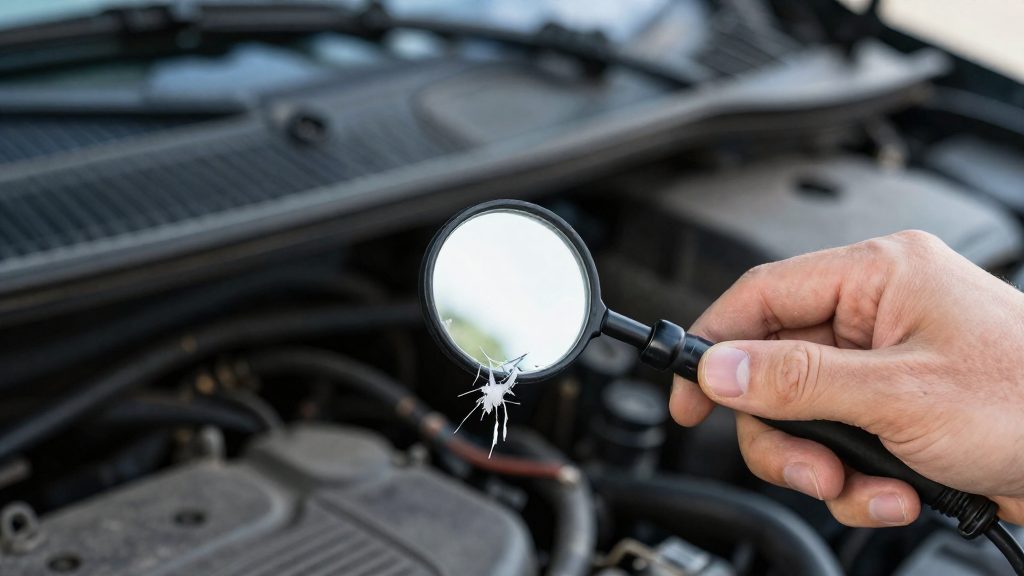
Look along the wiring harnesses for gnaw marks, cut or frayed sheathing, exposed copper strands and wires that have slipped out of their clips. Damage like this is a repair item, not a cleaning item, so do not assume a wire is safe because it still powers a component. Wiring that shows any of these signs should be replaced or repaired before the vehicle is driven, so if you see this kind of damage, skip the drive-based dislodging steps below and have the car inspected first.
How do you safely remove a mouse nest from an engine bay?
Physical removal should wait until the mouse has left the engine bay. The sequence is to dislodge the animal first, locate the nest second, and remove the nesting material last. According to EarthKind (2026), driving the car, using a car wash or honking the horn may drive a mouse out, so these are the first steps to try.
Dislodging the mouse
- Drive the car so the mouse may move out of its hiding place.
- Use a car wash, which may also drive the animal out of the engine compartment.
- Honk the horn, which may startle the mouse out of its position.
These methods are attempts, not confirmed solutions. EarthKind only says these methods may drive a mouse out, so treat them as optional attempts that may not work. Check the wiring first, and do not drive the car if you see gnawed or exposed wires.
Locating the nest
Check each of the following areas for mice and nesting material:
- The engine compartment
- The air filter housing
- The area around the battery
- The underside of the vehicle
Search the air filter housing and battery area closely, since these are compact spaces where nesting material can be hidden from view. Inspect the underside of the vehicle as well, because a nest can sit outside the engine bay itself.
Removing the nest after the mouse has left
Start removal only after you are confident the mouse has left the area. Disturbing a nest while the animal is still present risks an unexpected encounter at close range. Once the mouse is gone, remove the nesting material from the location where it was found.
What gear and disinfectant should you use?
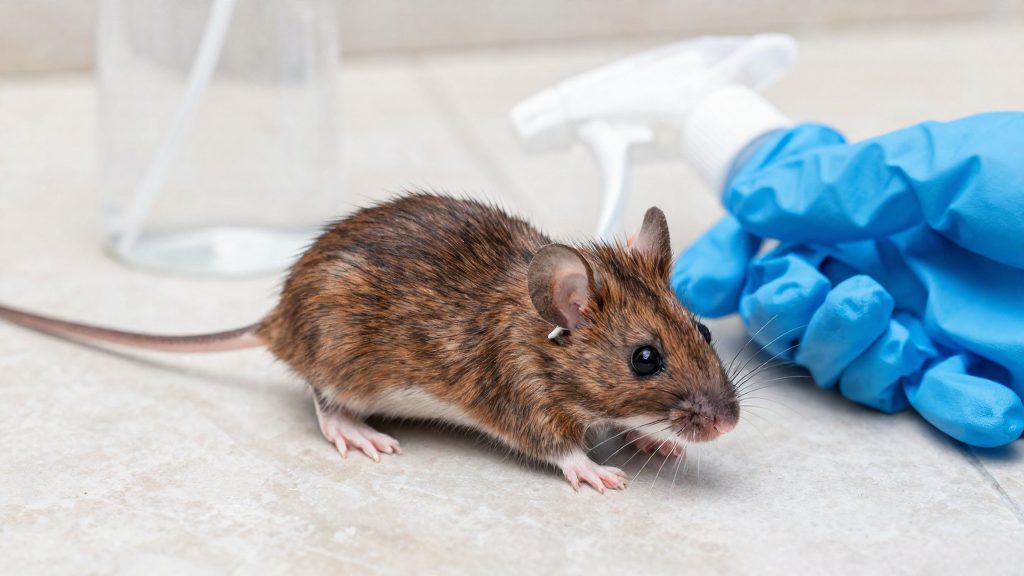
Before handling any droppings, urine or nesting material, wear rubber or plastic gloves. According to the CDC (2026), the cleanup sequence is to wipe up the material with paper towels and place them in a covered garbage can, so contaminated waste is sealed before it leaves the car. Dead rodents follow the same route: double-bag them, knot each bag, and dispose of them the same way. Once the gloves are off, wash hands with soap and warm water.
For disinfection, the CDC’s mix is 1.5 cups of household bleach per 1 gallon of water, a 1 part bleach to 9 parts water ratio. Make a fresh batch each time you clean rather than storing a previous one. Saturate the droppings or urine with the solution and leave it for a five-minute contact time before wiping. If the disinfectant label gives different instructions, follow the label instead.
Apply the solution to the contaminated spot, keep it off wiring, the battery and electrical connectors, and follow the disinfectant label. Work in the engine bay or cabin with the gloves already on, and keep paper towels and the covered garbage can within reach so that each piece of soiled material goes straight into the can. Replace the paper towels as they become soaked, and keep the gloves on until the last piece of waste is sealed.
Why you shouldn’t sweep or vacuum droppings
The CDC advises against both sweeping and vacuuming rodent urine, droppings and nesting material. According to the CDC (2026), stirring up fresh urine, droppings or nesting materials can put hantavirus into the air, where it can be breathed in. The warning specifies fresh material, so disturbing it mechanically is the trigger. A broom or vacuum lifts the material and releases virus-containing droplets into the air around the work area.
The rule covers every type of rodent material, not only droppings. The CDC’s cleanup guidance applies to:
- Urine
- Droppings
- Dead rodents
- Nesting material
All four are listed for safe cleanup, so none is exempt from the no-sweeping, no-vacuuming rule. In a car, this applies across the whole inspection area. Mice and nests can be checked in the engine compartment, the air filter, the area around the battery and underneath the vehicle, so the same rule applies in each of those spots. A nest found in one location can leave urine or droppings in another, and every one of those materials must be handled the same way.
The practical consequence is that dry collection is ruled out for all of them. The CDC’s approach is to wipe material up rather than sweep it into a pile or draw it into a vacuum. Wetting the material with disinfectant and wiping it up with paper towels, rather than sweeping or vacuuming it, is the CDC’s approach to limiting the amount of virus that reaches the air.
Where else should you check for nests and damage?
Mice can nest well away from the engine, so the underbody, cabin and trunk need their own inspection. Start underneath the vehicle, below the engine compartment, and look for droppings and loose nesting material on the undertray and in any sheltered cavity. Then check the cabin, the trunk and the storage space under the seats, where nesting material tends to collect out of sight. Look for gnawed objects in these areas too, since they show the animal has been active nearby.
Finding the nest can be difficult. According to EarthKind (2026), driving the car, using a car wash or honking the horn may drive a mouse out, which can reveal its location.
Clean up with a disinfectant solution:
| Item | Value |
|---|---|
| Bleach | 1.5 cups household bleach |
| Water | 1 gallon |
| Ratio | 1 part bleach to 9 parts water |
| Preparation | Made fresh each time |
| Contact time | Saturate droppings or urine and leave for 5 minutes, or follow the product label |
How do you keep mice out of your engine bay?
Prevention for a parked car depends on closing every opening, removing food and clutter, sealing gaps, replacing the botanical repellent pouches on schedule, and driving stored cars regularly. EarthKind, a manufacturer of botanical repellent products, sets out the core schedule in its 2026 guidance.
| Routine | Frequency |
|---|---|
| Close windows, sunroof and hood | After each drive |
| Replace botanical repellent pouches | Every 30 days, or when the scent fades |
| Drive stored cars | Every few weeks |
Close every opening after each drive
The closing routine is the simplest step to make habitual. Once the car is parked, shut the windows, close the sunroof and lower the hood. An open hood or cracked window gives mice direct access to the engine bay and cabin, so treat this as the last action of every trip rather than an occasional check.
Remove food and clutter
Keep the car free of food, including wrappers, crumbs and snacks left in the cabin or trunk. Loose items such as paper, fabric and packaging also give mice material to nest in, so clear them out as well. A tidy interior removes both the food source and the nesting site.
Seal gaps
Close the gaps through which mice can enter the vehicle. Check the areas around the engine compartment and cabin, and seal any opening you find. Sealing works only when combined with the closing routine above, because a gap that is sealed but left with the hood open still allows entry.
Maintain the repellent
Replace the botanical repellent pouches every 30 days, or sooner when the scent fades. The scent is the working component, so a pouch that no longer smells strong should be swapped out even before the 30-day mark. Recording the replacement date on a calendar or phone reminder keeps the schedule consistent.
Keep stored cars moving
For vehicles that sit unused for long periods, EarthKind advises driving them every few weeks. Following this schedule keeps the car in regular use and prevents long, uninterrupted periods in which mice can settle undisturbed.
When should you call a mechanic or pest pro?
Call a mechanic when signs of a mouse persist after you have searched the car and cannot find the nest. Persistent signs such as droppings, gnawed wires or nesting material that keep appearing may mean a mouse is still present, and the nest may be in a place you cannot see without a mechanic’s inspection.
Signs that persist after a failed search
Treat new signs as evidence that the search missed something. Note where each new dropping, chew mark or pile of nesting material appears. If the signs keep turning up in the same area, the nest is likely close to that spot, even if you never saw it. Compare the locations over time. If they move, the animal may be using several routes or hiding places.
Mechanic inspection for hidden nests
A mechanic inspection is the right next step when the owner cannot locate the nest. A mechanic can inspect the whole vehicle and has the tools and access to check areas that are hard to see without removing panels. Give the mechanic a clear description of the signs and where you found them. Gnawed wiring should be examined as part of the inspection, because damaged wires can affect the vehicle’s electrical system.
Pest professional for recurring infestations
If the signs return after the car has been cleaned, searched and inspected, the problem may be a recurring infestation rather than a single nest. A pest professional can assess the wider situation, including whether mice are also present in the garage, the home or other areas where the car is parked, and can recommend treatment options suited to the site. Ask for an assessment that covers the entire area where the car is kept, not only the vehicle.
Frequently asked questions
Can I drive the car to make the mouse leave the engine bay?
Only if you have checked the wiring and found no gnawed wiring or exposed copper. According to EarthKind (2026), driving, using a car wash or honking the horn may drive a mouse out, but these are unconfirmed attempts that may not work.
Is bleach safe to use on droppings in the engine bay?
Use bleach only as a wet-cleaning disinfectant: mix 1.5 cups of household bleach per gallon of water, make it fresh each time, and leave it on the droppings for 5 minutes, per the CDC (2026). Keep the solution off wiring, the battery and electrical connectors, and never sweep or vacuum the debris.
How often should I replace the repellent pouches?
EarthKind (2026) recommends replacing its botanical repellent pouches every 30 days, or sooner when the scent fades. For a stored car, the same manufacturer advises driving the vehicle every few weeks.