Why do new homeowners need a pest check before closing?
A standard home inspection does not cover pests. Home inspectors are not required to check for them, so a buyer who relies only on the general inspection can close without knowing whether the property has an infestation. According to Orkin (2025), the safer approach is to have the home pre-treated by a pest management professional before closing. That gives the buyer a dedicated assessment instead of an assumption that pests were ruled out.
Why the standard inspection falls short
Pests are outside the required scope of a general home inspection, so a standard report does not confirm that the property is free of them. Because pest activity can sit inside walls, attics and crawl spaces, a quick walkthrough may not reveal it. The pest check therefore has to be requested as a separate service.
How to arrange the check
- Ask the inspection company in writing whether pest checks are included, and what they cover.
- Book a pest management professional to pre-treat the home before the closing date.
- Request the written findings and any treatment record before you sign.
Inspect the attic, interior and exterior before closing and again on move-in day
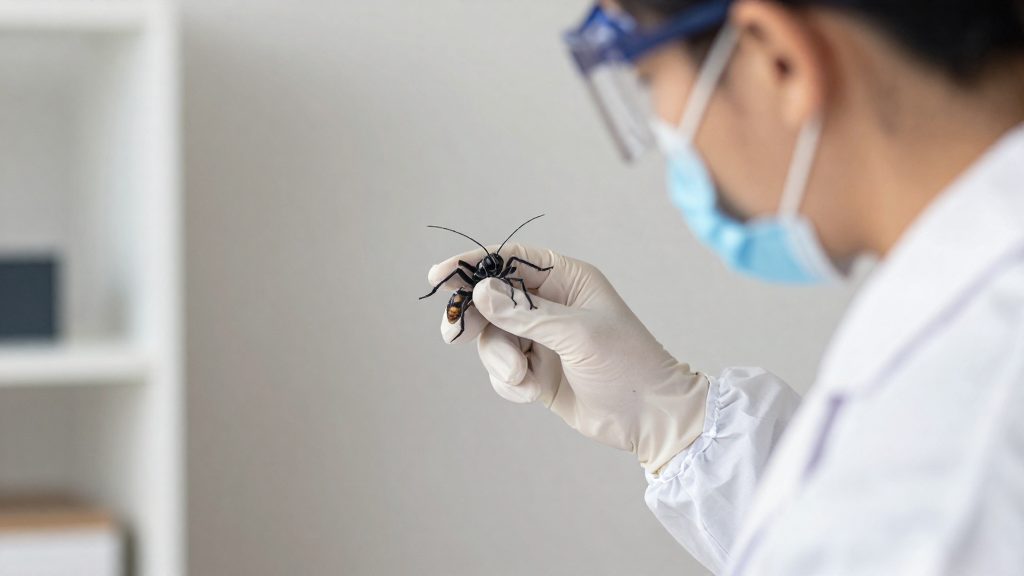
Inspect the attic, the interior and the exterior in that order, before boxes block access to any area. Each zone shows different signs, and recording them on the first day gives you a baseline for later comparison.
Attic: nesting material and droppings
Use a torch to scan the insulation, the rafters and the area around the access hatch. Look for nesting material and droppings, both of which are on the list of signs to check before closing. Do not touch or sweep droppings dry, because dried droppings can release harmful particles. Photograph anything you find from a distance so a pest professional can review it and advise on safe cleanup.
Interior: tiny brown stains
Check the seams and folds of mattresses, bed frames and upholstered furniture for tiny brown stains, which may indicate bed bugs. Inspect rooms with the lights on, because stains on dark fabric are easy to miss in dim light. Mark any stain you cannot identify and treat it as unresolved until a professional has examined it.
Exterior: cracks and gaps in foundation and siding
Walk the full perimeter of the house at ground level, then examine the foundation walls and siding from top to bottom. Pay particular attention to corners and to the points where siding meets the foundation. Log every cracks and gaps you find with its location and a photo, so the openings can be addressed in one pass once you move in.
Seal entry points
Pests need only a gap of ½ inch or less to get inside, according to Orkin (2025). Openings that look negligible during a move-in walkthrough can therefore be enough, so the sealing work should cover every small opening in the exterior envelope.
| Opening | Fix | Check |
|---|---|---|
| Windows | Seal gaps around the frames | Look for daylight at the frame edges |
| Pipe gaps | Fill the openings where pipes enter walls and floors | Feel for air movement around the pipe |
| Door openings | Seal gaps between the frame and the wall | Close the door and look for light at the edges |
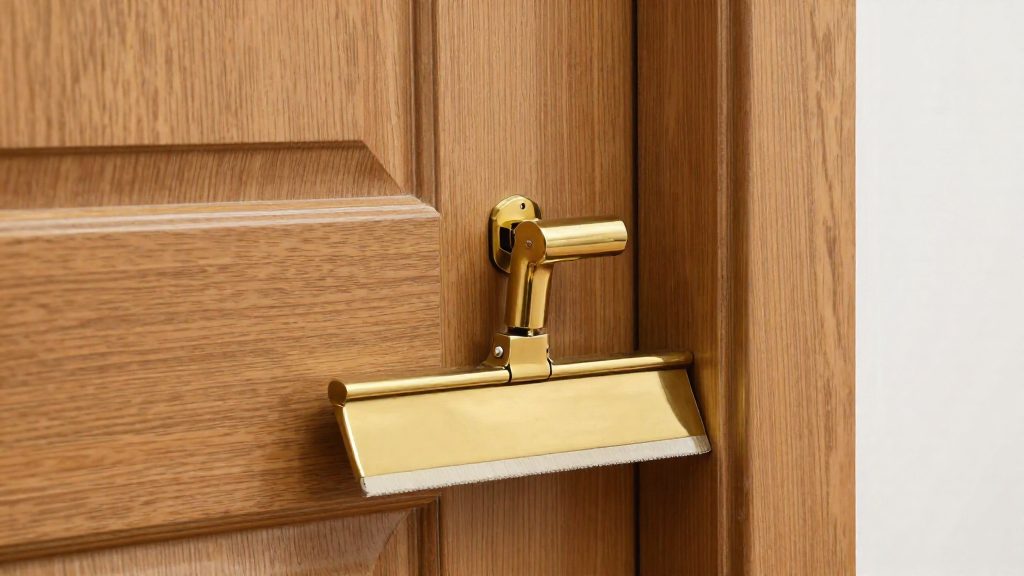
| Exterior doors | Install door sweeps along the bottom edge | Confirm the sweep contacts the threshold when the door is closed |
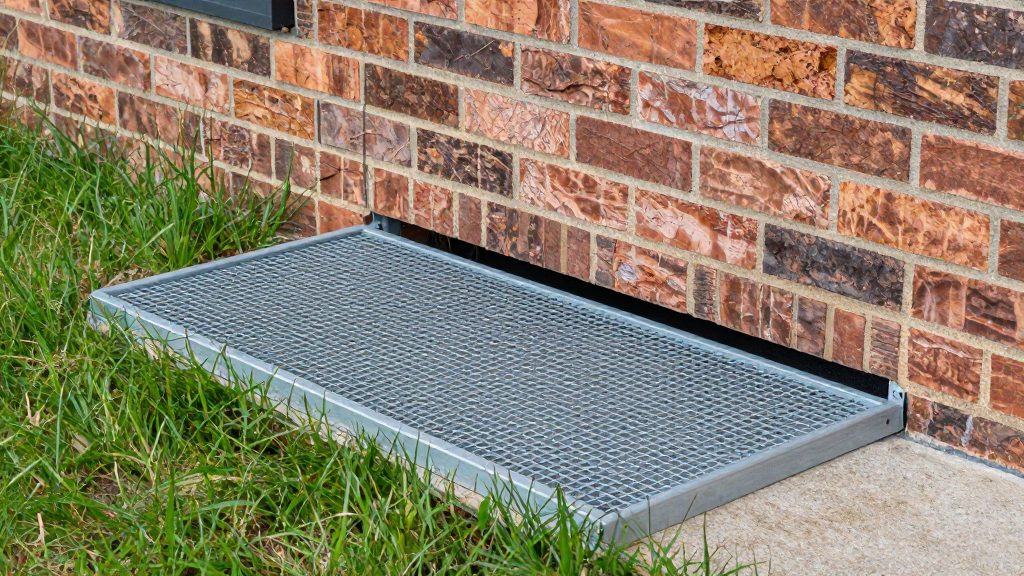
| Vent openings | Cover with wire mesh and fasten it securely | Confirm the mesh cannot be pushed aside |
Check at night or in dim light. Turn off the interior lights, then have someone shine a flashlight from inside along each window frame, pipe penetration and door edge while you look from outside. Any visible light marks a gap to seal. Mark each one before you begin sealing, but light is not the only sign. Pests can use openings that do not show light, so also inspect the foundation and siding for cracks.
Sealants and fillers should be applied to clean, dry surfaces so they adhere. Check the seals again after the first heavy rain or temperature swing, because gaps can reopen as materials shift. Keep a record of what was sealed, which makes it easier to spot new openings during later inspections.
Cut off water and moisture
Standing water and damp materials draw pests into a home. According to Wil-Kil Pest Control (2025), moisture attracts small flies, cockroaches and mosquitoes, so three tasks belong early in occupancy: stopping leaks, repairing damaged wood and emptying standing water from outdoor containers.
Fix leaky plumbing
Leaky plumbing keeps the area around it damp for as long as the leak continues. Orkin (2025) lists moisture from leaks among the signs to check for before closing, so inspect pipes, fittings and fixtures during the purchase rather than after move-in. Tighten or replace worn connections, then dry the surrounding surfaces completely. A leak that is repaired but leaves the area wet will still attract the pests named above, so drying is part of the job.
Repair water-damaged wood
Wood that has absorbed water stays damp longer than the surrounding materials, which keeps it attractive to pests. Wil-Kil Pest Control (2025) recommends repairing water-damaged wood in the home as part of moisture control. Orkin (2025) lists hollow-sounding wood among the signs to check for before closing, since it may signal termites. Do not just patch sections that sound hollow. Have a pest management professional examine them first. Remove soft or rotted material, replace it with sound wood, and let the repair dry before finishing it.
Empty standing water from outdoor containers
Buckets, watering cans, plant saucers and similar outdoor containers collect rainwater, and that standing water attracts mosquitoes. Empty them after rain, and store containers that are not in use upside down so they do not refill.
Fix the yard and exterior
Moisture and damp organic material near the house can attract pests, so the outdoor work aims to keep them away from the foundation. The three tasks below follow the Orkin and Wil-Kil guidance.
Clean the gutters and point downspouts away
Clogged gutters hold rainwater at the roof edge, and the overflow runs down the walls toward the foundation. Clear leaves and debris from the gutters before the wet season and again after trees drop their leaves. Then check that each downspout discharges well away from the foundation, not onto the soil beside it. Water pooling at the base of a wall keeps the soil damp enough to attract pests, so a downspout that ends at the foundation undoes the cleaning. After a heavy rain, look for standing water near the walls. If you find it, extend the downspout or redirect it onto a surface that drains away from the house.
Move mulch away from the house
Orkin (2025) recommends moving mulch away from the house. Pull mulch back from the siding and foundation so a bare strip separates the wall from organic material. Mulch touching the wall gives insects and rodents a damp, sheltered place right against the structure. Wil-Kil Pest Control (2025) notes that traditional mulch can hold moisture and suggests stone mulch or cedar chips instead. Replace mulch in the beds nearest the house first, since those beds sit against the wall, and keep the replacement material in a strip rather than piled against the siding.
Store firewood away and trim branches
Wil-Kil Pest Control (2025) advises keeping firewood away from the house. A woodpile against the wall gives insects and rodents a sheltered, damp spot close to the structure. Stack wood on a rack or pallet, away from the walls, and keep it off bare soil so it dries out. Trim overhanging branches so they do not touch the roof, gutters or siding. A branch touching the house gives pests a direct route to the structure, and cutting back foliage at the roof edge also keeps leaves out of the gutters, which links this step back to the gutter cleaning above.
What should you do in the first month?
The sources do not prescribe a schedule. The order below is a practical suggestion: moisture, then yard and exterior, then openings.
Priority order for the first 30 days
| Priority | Focus | Why it comes at this point |
|---|---|---|
| 1 | Leaky plumbing, water-damaged wood, standing water in outdoor containers | Moisture attracts small flies, cockroaches and mosquitoes |
| 2 | Gutters, downspouts, mulch and firewood | Water runoff and damp material sitting against the house |
| 3 | Windows, pipe gaps, door openings, vent openings | Entry points for pests |
Moisture comes first in this suggested order because it attracts small flies, cockroaches and mosquitoes (Wil-Kil Pest Control, 2025). Yard and exterior work comes second, and openings come third. Yard and exterior work comes second, and openings come third.
Deciding which entry points to seal first
Seal first the openings that lead into living space or the attic. Check the foundation and siding for cracks and gaps, then close those that connect to the interior. Door openings take door sweeps, and vent openings take wire mesh. Exterior trim gaps and window frames come after interior access points are sealed.
Checking whether fixes stopped activity
Return to the same spots about four weeks after the work. Re-check any area that still shows moisture, such as leaks or pooled water near the foundation. If new signs appear in a sealed area, look for a second gap in the same wall or ceiling run before assuming the first fix was enough.
When should you call a professional?
Hollow-sounding wood may signal termites (Orkin, 2025), so any hollow spot is a reason to call a pest management professional. You can test accessible wood yourself, but do not wait for several hollow spots before calling.
How to test wood by tapping
Work through the same areas in the same order on every check so none are skipped:
- Sill plates and joists in basements and crawlspaces, where wood meets the foundation.
- Baseboards and door frames, especially near the floor.
- Exterior wood such as deck posts, fascia boards and window sills.
Tap each piece with the handle of a screwdriver or with a knuckle. Solid wood gives a sharp, dense sound, while hollow-sounding wood gives a dull, drumlike one. Then press the screwdriver tip into any suspect spot. Wood that gives way or crumbles needs inspection.
When to call a professional
Call a pest management professional when:
- Tapping sounds hollow anywhere, even in a single spot.
- Wood is soft, crumbles under pressure, or is already water-damaged.
- You cannot reach the wood to test it, such as in a sealed crawlspace or behind a finished wall.
Set up a seasonal routine
A seasonal routine turns the checklist into a fixed schedule: each task gets one season, and the same checks repeat every year. Assign seasons to the recurring tasks, then keep the same season each year. A fixed date makes a missed check easy to spot, which an open-ended “when I remember” habit does not.
Attic and exterior inspections should be repeated every season, since these are where early signs appear first. Outside, walk the foundation and siding and mark every crack or gap. Compare each visit with the previous one to see whether a gap has widened or a new one has appeared.
Several other tasks suit a seasonal cycle:
| Task | What to check each season |
|---|---|
| Foundation and siding | Cracks and gaps |
| Outdoor containers | Standing water |
| Firewood and mulch | Firewood kept away from the house; traditional mulch swapped for stone mulch or cedar chips, which hold less moisture |
Wil-Kil Pest Control (2025) recommends the firewood, mulch and standing-water measures in this table. Repeating them each season is a practical suggestion, not a requirement from the sources.
Record each completed check
Keep a dated log with one line per check. Note the date, the area inspected, what was found, and what was repaired or sealed. A log lets you compare conditions across seasons: if the same gap reappears in the same spot, the repair did not hold. It also confirms that every task was completed on schedule, which is the point of a routine. A notebook, spreadsheet or calendar entry all work, as long as the entries are kept in one place and reviewed at the start of each season.
Frequently asked questions
How small a gap can let pests into a house?
According to Orkin (2025), pests need only a gap of ½ inch or less to get inside. Check the foundation and siding for cracks and openings, and seal any you find.
What do tiny brown stains found during a viewing mean?
Orkin (2025) notes that tiny brown stains may indicate bed bugs. Record where you see them and ask a pest management professional to confirm the cause before you close.
Which outdoor changes reduce the moisture that draws pests?
Wil-Kil Pest Control (2025) recommends fixing leaky plumbing, repairing water-damaged wood and emptying standing water from outdoor containers. Keep firewood away from the house, trim overhanging branches, and consider stone mulch or cedar chips, since traditional mulch can hold moisture.