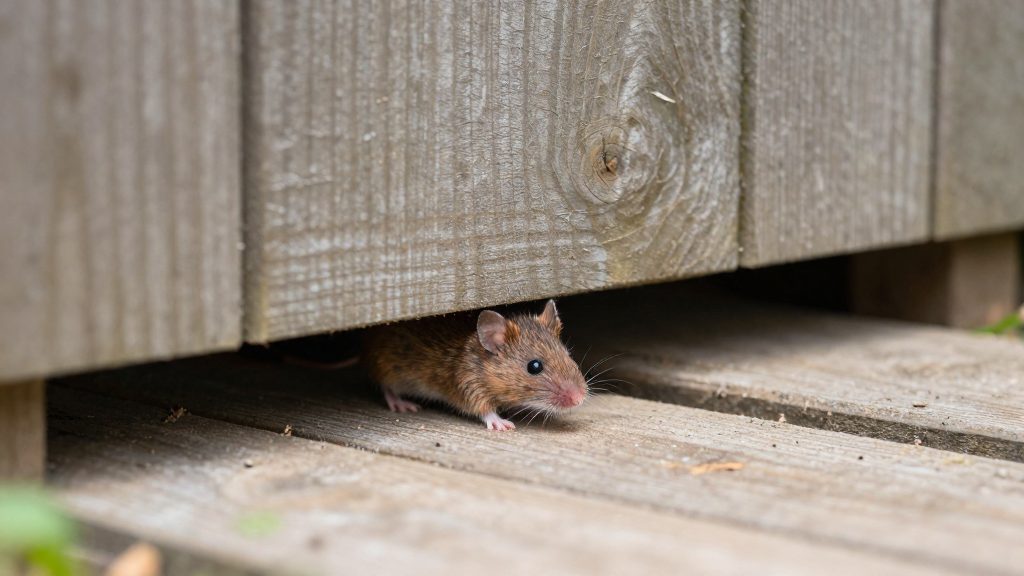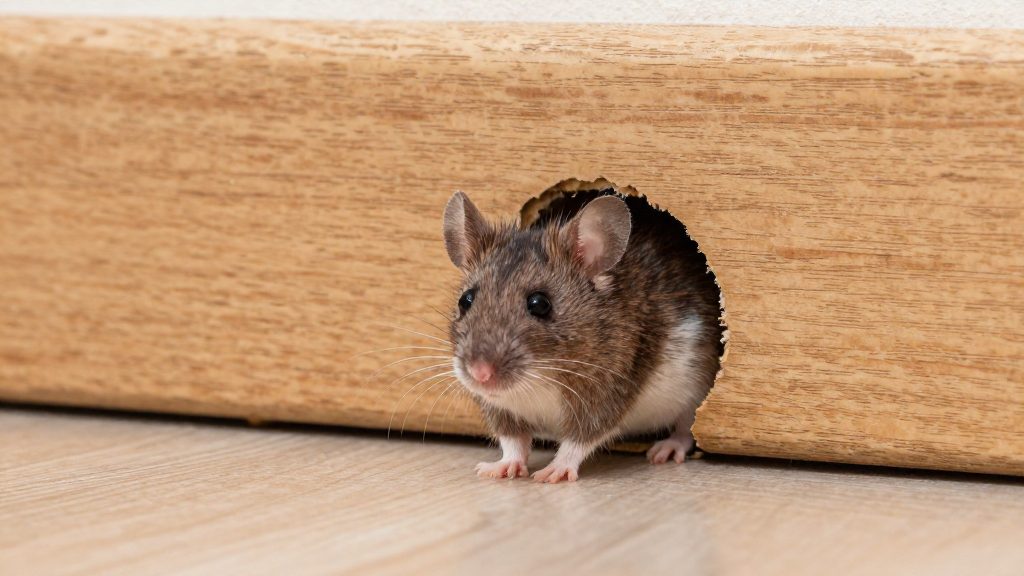
Mice inside wall cavities rarely show themselves, so confirmation depends on indirect evidence. According to Terminix Canada (2020), activity inside the walls should be confirmed before choosing a control method. The main signs to check are nighttime sounds, droppings and gnaw marks near baseboards, and tracking patches that record movement over several nights.
Signs of mice in your walls
Nighttime scratching and gnawing
Listen during the quietest hours, with appliances and heating switched off and an ear against the wall near the suspected area. Scratching and gnawing that repeat on consecutive nights indicate live activity, while a single noise does not. Log the time and location of each sound so that repeated positions can be compared.
Droppings and gnaw marks near baseboards
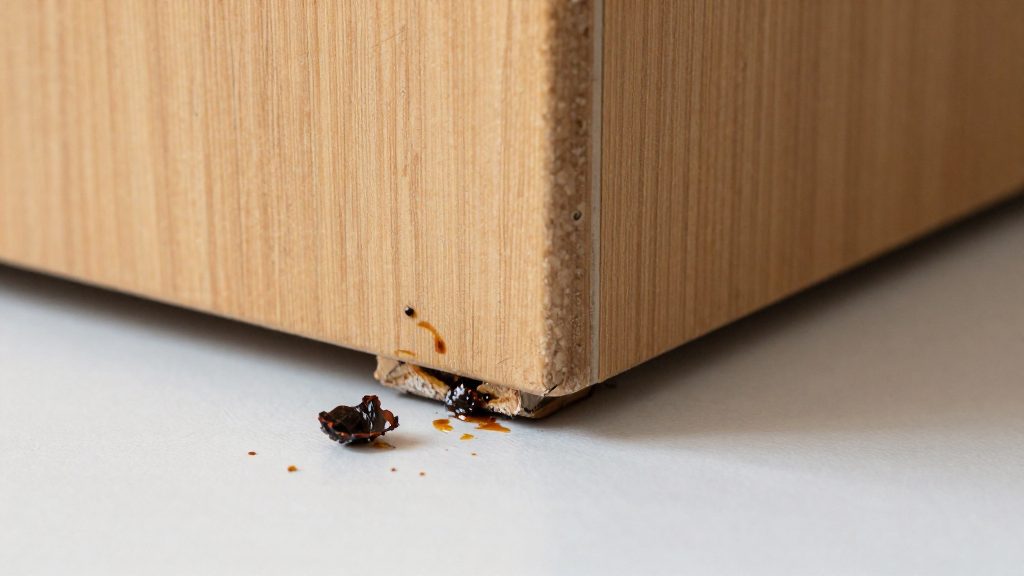
Inspect the base of the wall, wall corners, and the areas behind appliances and under sinks. Look for gnaw marks on baseboard edges and trim, and for droppings lined along the wall. Note whether droppings are fresh or old. Older deposits from earlier activity can be mistaken for current signs.
Tracking patches and monitoring
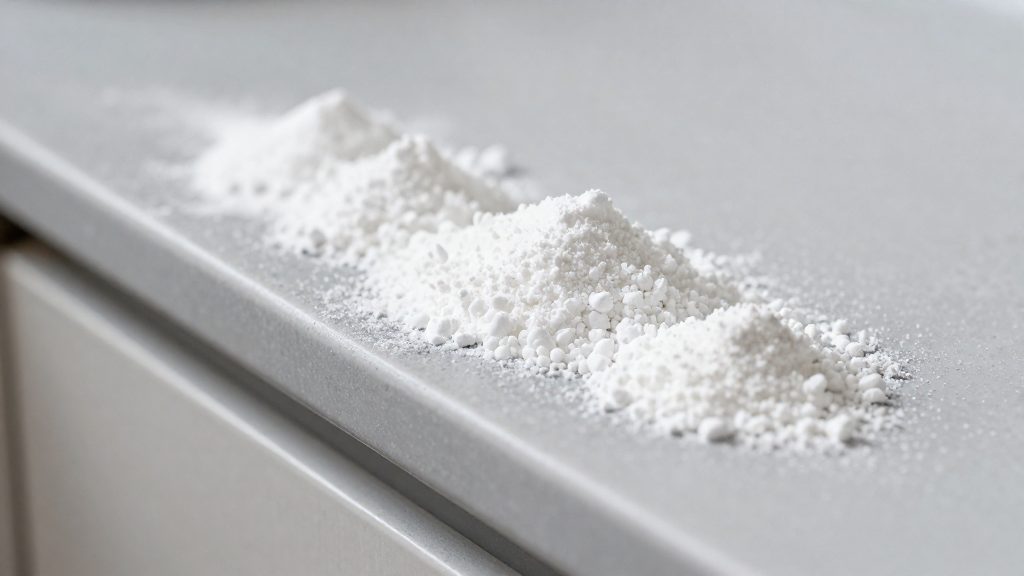
Lay a thin, even layer of fine powder along the baseboard in the suspected area and leave it undisturbed. Check it the next morning for footprints or trails crossing the powder. A tracking patch that stays clean over several nights suggests no activity at that spot.
Mice are often discovered late. According to Pesticon (2026), they frequently nest in hollow wall spaces, so one clean patch does not rule out activity. Repeat the checks over several consecutive nights and compare the log, the sound timing, the droppings and the prints. If activity is confirmed inside the walls, Terminix Canada (2020) recommends calling a professional.
Control measures for mice inside walls, based on the listed guidance and its stated limits.
| Method | Key data | Source |
|---|---|---|
| Exclusion (sealing) | Openings of about 1/4 inch (roughly pencil width) let mice through. Materials: steel wool, hardware cloth, expandable foam, caulking, mortar. Mice can gnaw through poor repairs, so check seals regularly. Use rodent-grade materials, since rodents chew ordinary caulk and wood siding. | Terminix Canada (2020); PestHQ (Canada) |
| Snap traps | Place perpendicular to the wall, trigger end facing the baseboard, near droppings. One mouse may take up to a dozen traps to catch. Replace bait every couple of days and reposition regularly. | Terminix Canada (2020) |
| Multi-capture live traps | Use alongside snap traps. Same placement and rebaiting rules apply. | Terminix Canada (2020) |
| Rodenticides | Regulated by Health Canada. Use requires a professional pest control license. Misuse can harm pets and wildlife. Warned against when bought online. | PestHQ (Canada) |
| Repellent sprays and electronic deterrents | Described as short-term measures at best. | PestHQ (Canada) |
| Removing food, water and shelter | Described as more effective than repellents. | PestHQ (Canada) |
| Professional service | Recommended for suspected wall infestations. Professionals can work from inside walls, so wall damage is not a major concern. | Terminix Canada (2020); Pesticon (Toronto, 2026) |
How do you get mice out of walls?
Removing mice from a wall starts with confirming that they are active inside the cavity. Once activity is confirmed, the route you choose depends on where you can physically see and reach the signs of activity.
Why wall removal is harder than attic removal
Terminix Canada (2020) states that removing mice from walls is harder than removing them from attics because there is less working space. In an attic, you can inspect and access nesting areas directly. A wall cavity is enclosed and narrow, so you cannot follow the animal’s movements or reach its nest. A dead mouse can also decompose inside the wall, where it is difficult to retrieve.
Working within the limits of the cavity
Because the cavity restricts access, plan the removal around the accessible points of the room:
- Choose the route by access. Work from the side of the wall where you can see and reach the activity. Do not force tools into a cavity you cannot inspect.
- Keep poisons out of wall voids. A rodenticide should not be placed inside a wall as a removal route.
Can you trap mice inside walls?
Yes, but traps only catch mice that pass through the trap’s reach, and wall cavities leave little room to work. Trapping works best once you have located the activity along the wall.
Trap placement
- Set each trap perpendicular to the wall, with the trigger end facing the baseboard.
- Place traps near droppings, which mark the routes mice use.
- Reposition traps regularly if they stop catching mice.
Mixing trap types and counting traps
Use a mix of snap traps and multi-capture live traps rather than one type alone. A single mouse may avoid several traps, and one mouse may take up to a dozen traps to catch. Set enough traps along each route to cover that range.
Bait and maintenance
Replace bait every couple of days and reposition traps regularly, as Terminix Canada (2020) advises.
Is poison a good idea for mice in walls?
Rodenticides are a poor choice for mice inside wall voids. Health Canada regulates rodenticides, and according to PestHQ (Canada), using them requires a professional pest control license. Misuse can harm pets and wildlife, and a poison placed in a concealed cavity cannot be easily checked for where it ends up.
Pet and wildlife harm
A wall void is hard to inspect, so a homeowner cannot easily confirm that bait stays out of reach of animals or that it has been consumed by the target rodent.
Poisons bought online
PestHQ (Canada) specifically warns against poisons bought online.
What about repellents and home remedies?
Repellent sprays and electronic deterrents are short-term measures at best, according to PestHQ (Canada). Neither removes mice that have already settled into a wall, and neither closes the openings they entered through. Removing food, water and shelter from the property works better, because it takes away the reasons mice stay.
Home remedies face a more basic limit. They are applied to open areas, but the activity sits inside hollow wall spaces. A product placed in a room cannot reach a nest behind drywall or in a stud bay, so its effect on mice inside the wall is limited.
For households using repellents or remedies while waiting for a professional, the most useful steps are:
- Store food in sealed containers and clean crumbs and spills each night.
- Remove standing water, including from pet bowls and dripping fixtures.
- Clear stored boxes, clutter and vegetation touching the exterior wall, so mice have fewer nesting sites.

How to seal entry points for good
Sealing starts with measuring every gap that could serve as a passage. Mice can squeeze through openings of about 1/4 inch (about 6 mm), roughly the width of a pencil, so any gap at or above that size in the wall, the foundation or around a service penetration needs closing. Check low on the wall, near the baseboard, and at the point where each pipe or vent enters the structure, because these spots are easy to overlook.
Selecting rodent-grade materials
PestHQ (Canada) notes that rodents can chew through ordinary caulk and wood siding, so the repair must use rodent-grade materials. Terminix Canada (2020-11-25) lists these suggested options:
- Steel wool
- Hardware cloth
- Expandable foam
- Caulking
- Mortar
Mice can also gnaw through poor repairs, so a patch made with a thin or non-durable filler will fail. Use one of the materials above for every opening, and make the repair solid enough that no edge is left exposed.
Sealing foundation cracks and penetrations
Work through the structure in two groups. First, seal cracks in the foundation and walls. Second, seal the gaps around utility pipes and vents, since mice can use these penetrations to get in. Terminix Canada (2020-11-25) names both categories explicitly, so cover each one before moving on.
Seal from the outside where access allows, and from the inside where a vent or pipe runs through a finished wall. Work on the gap itself and close it completely, rather than covering the surface around it.
When should you call a pro?
Call a licensed pest control professional as soon as activity is confirmed inside a wall cavity. Terminix Canada (2020) recommends this for suspected wall infestations. Recurring activity after DIY work is a further reason to call. Terminix Canada (2020) recommends confirming activity inside the walls first and then calling a professional for suspected wall infestations.
Recurring activity after DIY work
Recurring activity is the clearest sign that a DIY approach has failed. Treat the following as reasons to call a professional:
- Fresh droppings or gnaw marks appearing after the openings were closed
- Scratching or scurrying sounds inside the wall after sealing
- Signs of entry at a new point, which suggests the original seal was incomplete
If activity resumes after a repair, check whether the material was rodent-grade.
Why wall infestations justify professional help
Pesticon (Toronto, 2026) advises hiring a local pest control professional for wall infestations. Its technicians can work from inside the wall, so the damage that opening walls would cause is not a major concern.
How to prevent mice from coming back
Mice that have been removed from a wall void can return if the conditions that drew them in remain. Prevention depends on routine checks rather than a single repair. The two ongoing tasks are removing food, water and shelter around the home and inspecting the building’s seals on a fixed schedule.
Removing food, water and shelter
Cut off the resources that keep mice in the area:
- Store food, including pet food and birdseed, in sealed containers instead of paper or cardboard packaging.
- Fix dripping taps and leaking pipes, and empty pet water bowls at night.
- Clear clutter, cardboard and stored fabric from garages, basements and storage areas, since these provide hiding places.
- Keep woodpiles, plant debris and stored materials away from the foundation.
Checking seals regularly
Mice can gnaw through poor repairs, so a sealed gap is not permanent. Inspect the foundation, wall junctions, and the areas around utility pipes and vents on a set schedule. Look for:
- Fresh gnaw marks or chewed edges on caulk, foam or wood.
- Caulk or foam that has cracked, shrunk or pulled away from its surface.
- Gaps around pipes and vents that have reopened.
- Droppings near any of these points.
Replace failed repairs promptly, and recheck the same points after any renovation, plumbing work or new vent installation.
Frequently asked questions
Can I seal the entry points myself, and with what?
Mice can squeeze through openings about 1/4 inch wide, so seal gaps in the foundation, walls and around utility pipes and vents. Steel wool, hardware cloth, expandable foam, caulking and mortar are the recommended materials, and exclusion only works if the repairs hold, since mice can gnaw through weak fills. Check the seals regularly.
Is it safe to remove mice from walls on my own?
It is harder than working in an attic because the wall cavity offers little room to reach the animal. A dead mouse can decompose inside the wall, which is why Terminix Canada (2020) recommends calling a professional pest control service for suspected wall infestations. Rodenticides also require a professional license under Canadian rules, and misuse can harm pets and wildlife.
Where should I place traps when mice are inside the walls?
Set traps perpendicular to the wall with the trigger end facing the baseboard, close to droppings. Combining snap traps with multi-capture live traps covers more situations, though one mouse may need up to a dozen traps before it is caught. Replace the bait every couple of days and move the traps regularly.