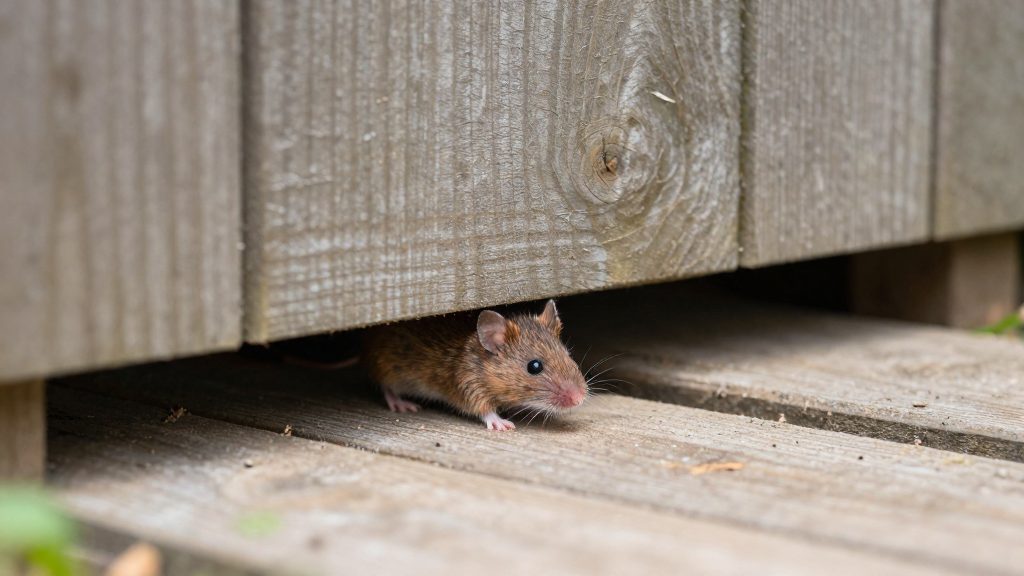
Why do mice move into garden sheds?
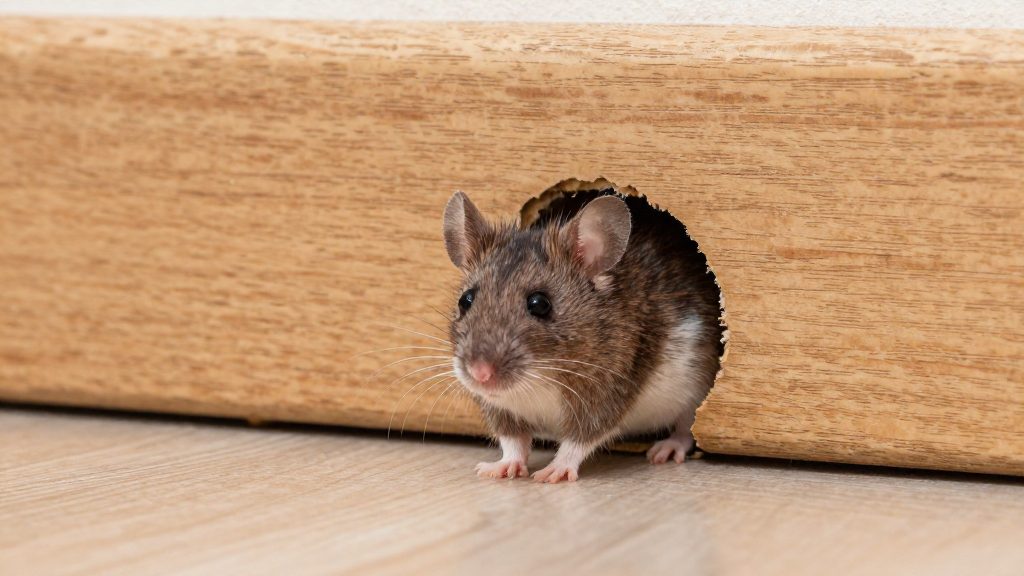
Mice move into garden sheds mainly because the building offers warmth, shelter and cover that the surrounding garden does not. As outdoor temperatures fall in autumn, mice look for sheltered places to spend the colder months, and a closed, dry shed that is rarely opened meets that need. Once inside, they can feed, rest and nest close to the house and to other food sources.
Seasonal pressure is the main trigger. When temperatures drop, mice living in hedges, grass, compost heaps and wood piles look for structures that hold heat better than the open ground. A shed with a shut door and little traffic gives them the stable conditions they seek, which is why activity often increases as the weather cools.
Nesting material is the second draw. Mice build nests from soft, fibrous material and use whatever insulates. In a shed, that can mean paper, cardboard, dry grass, rags, fabric, loose straw and shredded packaging. Stored materials of this kind give mice bedding and insulation without any effort on their part, so keeping them in sealed containers or off the floor removes an easy resource.
Clutter provides the cover. Stacked wood, pots, boxes and garden debris create dark, undisturbed spaces that mice use as runways and hiding places. Items resting directly on the floor offer the most cover, so the way the shed is organised matters as much as what it contains.
The same logic applies outside the building. Vegetation growing against the walls gives mice a covered route to the shed, and clearing leaf litter and debris from the immediate perimeter removes another hiding place.
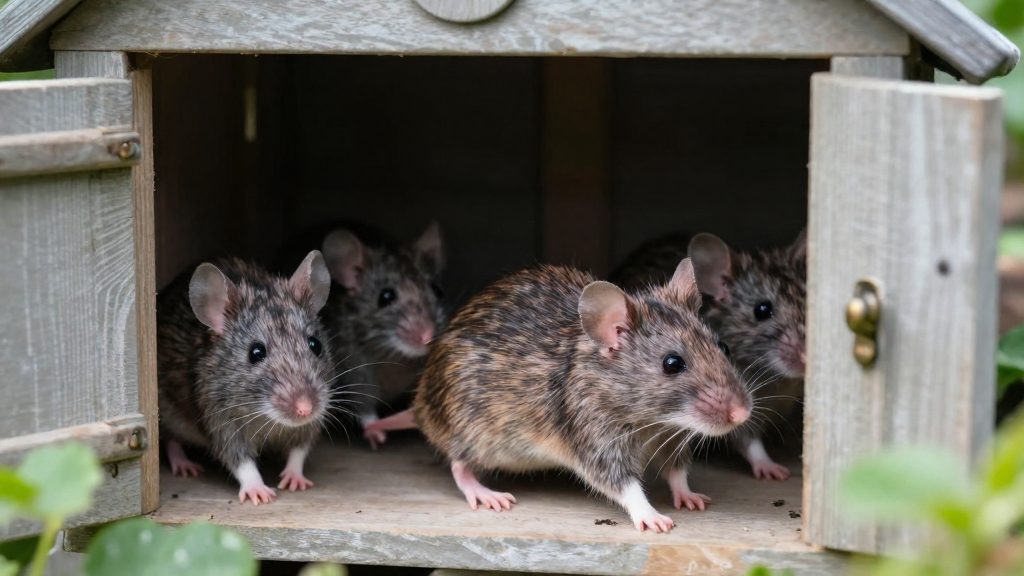
How to find entry points in your shed
According to Elite Pest & Wildlife (Hamilton, ON), mice need only a hole about the size of a dime to get in. Treat any opening that a dime could pass through as an entry point, even if it looks too small to matter. A systematic perimeter check covers the whole structure in a fixed order, so no gap is skipped.
Walk the perimeter in daylight
Use a flashlight and start at one corner. Move around the shed one wall at a time, checking the outside first. Then go inside and look for daylight coming through the walls, floor and roof, since many gaps are easier to spot from within. Mark each opening with chalk or tape as you find it, and compare the full list once the walk is finished.
Focus on the joints where materials meet, which the same source identifies as the most common weak points:
| Location | What to check |
|---|---|
| Door frames | Gaps between the frame and the wall |
| Eaves | Spaces where the roof overhang meets the wall |
| Roofline seams | Joints where roof panels meet the walls and each other |
| Foundation edges | Gaps where the walls sit on the base |
| Window frames | Gaps around the glass and the frame |
Look for signs of activity
Mice leave evidence close to the routes they use. Check these signs along the walls, under shelves, and beside stored food:
- Droppings, usually concentrated along walls and in corners, and near food sources
- Gnaw marks on the edges of wood, plastic and packaging
- Grease smears: dark, greasy streaks along frames and edges that animals repeatedly pass
Droppings found beside a gap may indicate a route, and a cluster in one corner may indicate a resting or feeding spot. Record both so you can inspect those areas. Record both, because each one points to a different area to inspect.
Which materials seal gaps against mice?
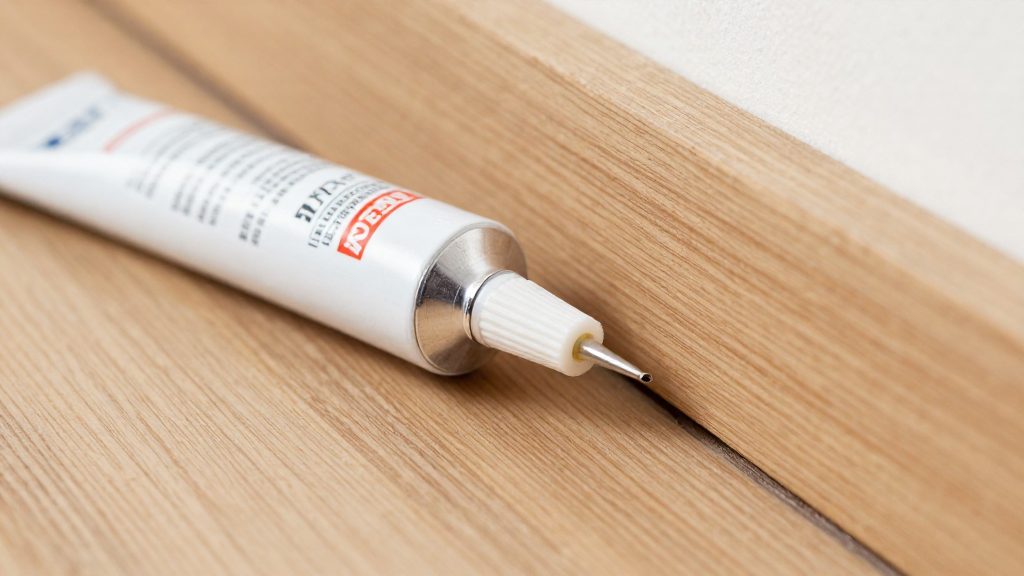
Each sealing material suits a specific type of opening. Elite Pest & Wildlife (Hamilton, ON) recommends steel wool, metal mesh and exterior-grade caulking for sealing a shed, and allows expanding foam only when it is reinforced with mesh.
| Material | Role | Where it applies |
|---|---|---|
| Steel wool | Sealing material | Gaps and holes around the shed |
| Metal mesh | Sealing material and foam backing | Standalone sealing, or behind expanding foam |
| Exterior-grade caulking | Sealing material | Door frames, eaves, window frames, foundation edges, roofline seams |
| Expanding foam | Sealing material, conditional | Only when reinforced with metal mesh |
| Heavy-duty, rodent-resistant door sweep | Door gap cover | The gap under the door |
| Hardware cloth | Vent screen | Vents, in place of plastic screen |
Expanding foam fills gaps quickly, but on its own it does not meet the standard in this source. Cut a piece of metal mesh to cover the opening, fit it in place, and then apply the foam so the mesh sits inside the foam layer. Use steel wool or metal mesh in the same openings where foam is not used.
Two openings need dedicated products. The gap under the shed door should be closed with a heavy-duty, rodent-resistant door sweep, which the source specifies by name. Every vent should be screened with hardware cloth rather than plastic screen, because plastic screen does not meet the recommended standard for rodent exclusion.
Should you raise the shed and clear the perimeter?
Raising the shed and clearing the ground around it both reduce access, because they address the base of the structure, where rodents approach before they find an opening. Lifting the building and keeping plants away from its walls makes that zone easier to inspect and harder to use as cover.
Raising the shed off the ground
Raise the shed off the ground so that the floor frame does not sit directly on soil, where gaps and wood-to-ground contact points are common. Elite Pest & Wildlife (Hamilton, ON) recommends raising the shed and reinforcing its vulnerable areas with metal flashing. Flashing closes exposed joints and edges that a mouse could otherwise work at, and it should be applied wherever the structure meets the ground or where the material is weakest.
Keeping vegetation away from the shed
Keep vegetation at least 1 foot (about 30 cm) from the shed. This clearance applies to shrubs, climbing plants and any other growth touching the walls. Rodents use plant cover to move unseen between the garden and the building, so a bare strip of this width removes that cover and leaves any approach visible.
Using pressure-treated lumber at the base
Build the shed base and other vulnerable areas from pressure-treated lumber. Elite Pest & Wildlife (Hamilton, ON) recommends this material alongside metal flashing as part of the same reinforcement strategy. Pressure-treated wood is a construction choice rather than a standalone barrier, so it should be combined with flashing at the joints and with the ground clearance described above.
How to store tools, seed and firewood safely
Mice in a shed are looking for food and cover. Storage works by removing both, so the goal is to keep food sealed and the floor clear.
Keep seed and food in sealed metal bins
Move bird seed, grain, pet food and other food out of its original bag and into a metal bin with a tight-fitting lid. Elite Pest & Wildlife (Hamilton, ON) recommends sealed metal bins for food storage. Close the lid after each use, and check the bin for gaps or a loose seal before you rely on it.
Store items on shelves or racks, off the floor
Keep tools, containers and stored goods on shelves or racks instead of on the floor. Elite Pest & Wildlife (Hamilton, ON) recommends this practice. Floor-level clutter gives mice hiding places close to the ground, so clear the floor along the walls and under benches. Leave a clear path so you can see droppings or gnaw marks when you enter.
Remove food sources, including spilled seed and fallen fruit
Sweep up spilled seed from the floor and shelves, and do not leave loose grain or pet food out overnight. Pick up fallen fruit from the ground around the shed, because it is an easy food source that can draw mice toward the entrance. Empty garbage and compost from the shed, and keep crumbs and wrappers out of storage areas.
Stack firewood away from the shed wall
Firewood stacked against a shed wall gives mice a sheltered route to the building. Stack wood on a raised, clear surface and keep it away from the walls, so the walls can be inspected. Check stacked wood regularly for signs of nesting, and remove any wood that is hollowed out or contains nests.

What role do traps and cats play, and what about repellents?
Traps are a standard measure, but they work alongside exclusion rather than replacing it. The Cottage Life guidance on basic shed control lists blocking cracks and holes, screening windows, removing food sources and using traps. A trap set inside a shed with open gaps catches only the mice that pass it, while others keep entering through the openings. Set snap traps against walls and behind stored items, where mice travel, and check them regularly so that captured animals are removed promptly.
Cats are a supplementary control, not a complete solution. Cottage Life notes that cats can help, but more than one may be needed. A single cat is an unreliable plan for a shed that already has mice, and because a cat cannot close gaps, it deals only with animals already inside.
Repellents are absent from the shed measures in the guidance that covers this topic. Those measures rely on physical exclusion, traps, food removal and, as a supplement, cats. The guidance does not list repellents as a shed measure, so seal the gaps first and treat any repellent product claim with caution. Once the openings are sealed, traps handle the animals already inside, and cats add a limited extra measure.
How to clean mouse droppings safely?
Cleaning mouse droppings follows a fixed sequence: ventilate, wait, soak, then wipe up. Work through the steps in order, because the waiting period and soaking time reduce the risk of breathing in contaminated particles. Mouse droppings can carry hantavirus. If you develop fever, muscle aches or breathing difficulty in the days or weeks after cleaning, seek medical attention immediately and tell the health professional about the rodent exposure. If you have trouble breathing, go to the emergency department or call emergency services. Your provincial health line (such as Health Link in Alberta) can also advise you.
Step 1: Ventilate and wait
Open the doors and windows of the shed to ventilate the space. Then stay out for at least 30 minutes before you return to start cleaning. According to the Government of Alberta (2025), this waiting period applies before any cleaning begins.
Step 2: Protect your hands
Put on rubber gloves before you touch the droppings, nests or any dead mice. Keep them on until the bag is sealed and the surrounding area has also been wiped.
Step 3: Soak with bleach
Prepare a bleach solution of 1 part bleach to 9 parts water, which is a 1:9 ratio. Pour it over the droppings, nests and dead mice so that all of the material is saturated. Leave the solution in place for 5 minutes. If you do not have bleach, a household disinfectant can be used instead.
Step 4: Wipe and bag
Once the 5 minutes have passed, pick up the soaked material with paper towels and wipe the surface clean. Place the used towels and any dead mice in a bag, close it and dispose of it. Wipe the surrounding area with fresh towels soaked in the same solution.
Maintenance checklist before winter
Before cold weather sets in, inspect the shed to confirm that every opening sealed during the original work is still closed.
Recheck sealed gaps
Walk the full perimeter and examine each sealed gap. Look for cracks, lifted caulking, torn or displaced mesh, and gnawed edges. Re-seal any defect with the same materials used originally.
Also check the door sweep for tears or a gap underneath.
Check the raised base and flashing
Inspect the metal flashing that reinforces vulnerable areas for rust, bent edges and lifted corners. Replace or reinforce any section that no longer covers the joint it was meant to protect.
Probe the pressure-treated lumber of the base with a screwdriver. A blade that sinks easily into the wood indicates rot. Confirm the shed still sits raised off the ground, as recommended in the guidance.
Keep an inspection log
Record the date of each inspection, the areas checked, the repairs made and any new activity signs, such as droppings, chewed material or nests. A dated record shows whether activity is recurring at the same spot, which points to an opening that has not been fully closed.
Frequently asked questions
Can I seal my shed with expanding foam?
Not on its own. Elite Pest & Wildlife (Hamilton, ON) allows expanding foam only when it is reinforced with mesh, and recommends steel wool, metal mesh or exterior-grade caulking for closing gaps.
How far should plants be kept from the shed?
Keep vegetation at least 1 foot (about 30 cm) from the shed, according to Elite Pest & Wildlife (Hamilton, ON). This clearance zone stops plants from giving mice a covered route to the walls.
Do cats solve a mouse problem in a shed?
Cottage Life says cats can help, but more than one may be needed. Cats work best alongside sealing gaps and setting traps, which the same publication lists as core shed measures.